Mastering the Art of Crocheting Perfect Round Circles
Crocheting round circles may seem like a simple task, but achieving a perfectly smooth, even circle can be tricky, even for experienced crocheters. Whether you’re crafting coasters, amigurumi, or mandalas, the foundation of a well-made circle is crucial. In this blog post, we’ll explore tips and techniques to help you create perfect round circles every time.
Understanding the Basics of Crocheting Circles
Before diving into advanced techniques, it’s important to understand the basic structure of a crocheted circle. Typically, a circle is made by crocheting in rounds, starting from the center and working outward. The key to a smooth circle is consistent increases at regular intervals. Here’s a basic formula to get you started:
1. Magic Circle: Start with a magic circle (also known as a magic loop) to ensure a tight, even center
2. Round 1: Crochet 6 single crochets (SC) into the magic circle
3. Round 2: Increase in each stitch around (12 SC total)
4. Round 3: Increase every second stitch (18 SC total)
5. Round 4: Increase every third stitch (24 SC total)
Continue in this pattern, increasing the interval between increases by one stitch for each subsequent round.
You can find tutorials on all the stitches in my Stitch Library
Why Does My Circle Look Like a Hexagon?
If you’ve been crocheting circles and notice that they’re turning out more like hexagons than smooth, round shapes, you’re not alone! This is a common issue many crocheters face, especially when following standard patterns for increasing in the same spots each round. Here’s why this happens and how you can fix it.
The Hexagon Effect
When crocheting circles, the most common method for increasing is to do so in a consistent pattern. For example:
Round 1: 6 SC into a magic ring.
Round 2: 2 SC in each stitch (12 SC).
Round 3: SC in the first stitch, 2 SC in the next stitch—repeat around (18 SC).
Round 4: SC in the next 2 stitches, 2 SC in the next stitch—repeat around (24 SC).
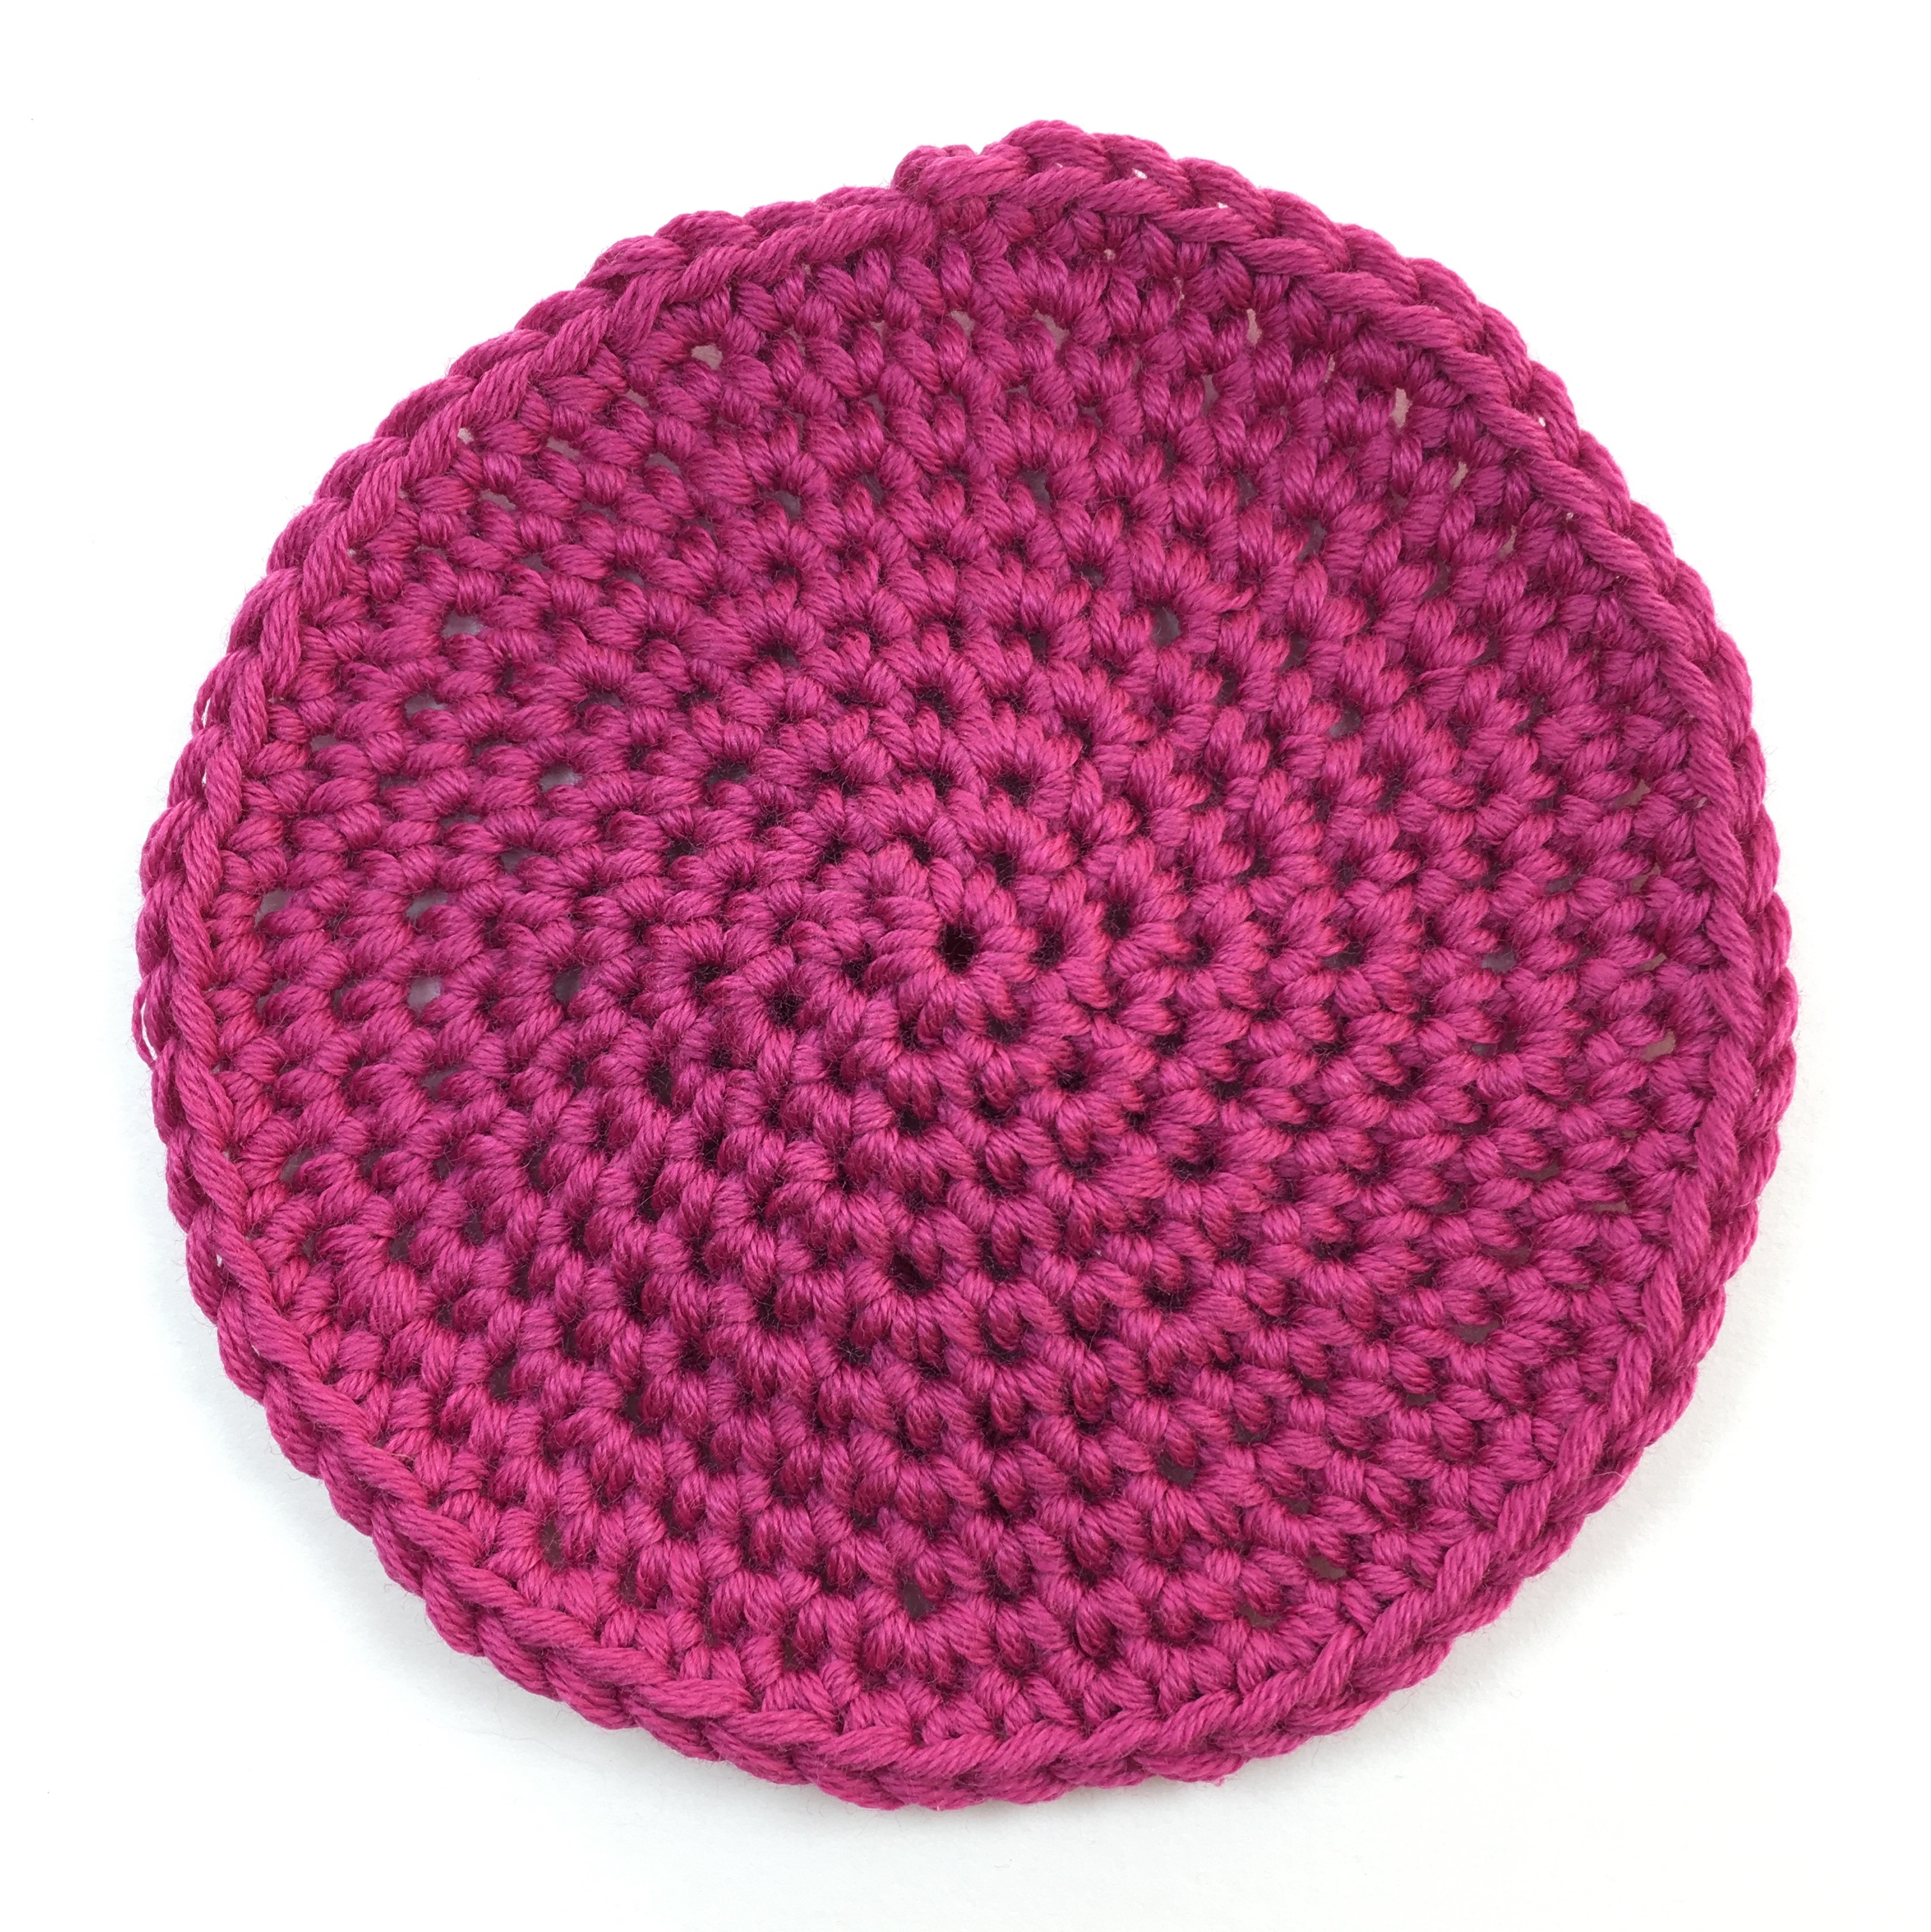
While this method is simple and effective, it tends to result in increases stacking on top of each other. Over several rounds, this creates distinct points where the increases occur, resulting in a shape that resembles a hexagon (or in some cases, other polygons depending on your increase pattern) rather than a perfect circle.

The Solution: Staggering Your Increases
To avoid the hexagon effect and achieve a smoother, rounder circle, try staggering your increases instead of placing them directly above the increases from the previous round. This distributes the increase points more evenly, preventing the formation of corners and keeping your circle perfectly round.
Here’s how to do it:
Follow the Standard Increase Pattern for the First Few Rounds: For the first two or three rounds, you can follow the standard increase pattern to establish your circle’s foundation.
Start Staggering Increases from Round 4 or 5: Instead of starting each round with the same stitch pattern as the previous round, start a few stitches earlier or later.
For example, in Round 5, instead of SC in the first 3 stitches, 2 SC in the next stitch all the way around, you might start with 2 SC in the first stitch, then SC in the next 3 stitches, and continue the pattern.
Alternatively, you can split the increases. For instance, do 1 SC in the first stitch, 2 SC in the next stitch, 1 SC in the next stitch for the first few increases, and then switch back to the standard pattern.
Vary the Starting Point of Each Round: When changing color in each row instead of always beginning each round in the same place (directly after your stitch marker), you can begin one or two stitches before or after the marker. This subtle shift helps keep the increases from aligning too perfectly, which softens the edges of your circle.
Adjust as Needed: Pay attention as you work – if you notice any points or bumps forming, adjust your increase placement slightly in the next round.
Final Thoughts
The key to perfect round circles in crochet lies in understanding the importance of staggered increases. By varying the placement of your increases, you can eliminate the hexagon effect and create beautifully smooth, round shapes in all your circular projects. As always, practice is essential—experiment with different approaches to find what works best for you, and soon you’ll be crafting perfect circles with ease.
Homemade & Heartmade
You might also like:
Crocheted Succulent Cushion
Succulent Serenity: Crocheting a Textured Cushion with Yarn Gradient BlissToday, I am buzzing with excitement to share a recent project that has truly captivated my creative spirit – a succulent-inspired crochet cushion! Nature has this incredible way of inspiring...
Crocheted Slippers Christmas Edition
'tis the season...If I have not told you before, I am a HUGE fan of anything Christmas. Our house is decorated from top to toe with a mix of homemade and storebought decorations. I have made mulled wine from scratch and of course baked Christmas cookies. The whole...
Hoooked Jute
When you crochet in super bulky/chunky yarn it definitely counts as a work out! Especially when you work with Hoooked Jute Yarn. The coarse natural material is anything but compliant. Still I am a huge advocate for this as it makes wonderful home decor items.Hoooked...


0 Comments