spike stitch

Instructions

Step 1
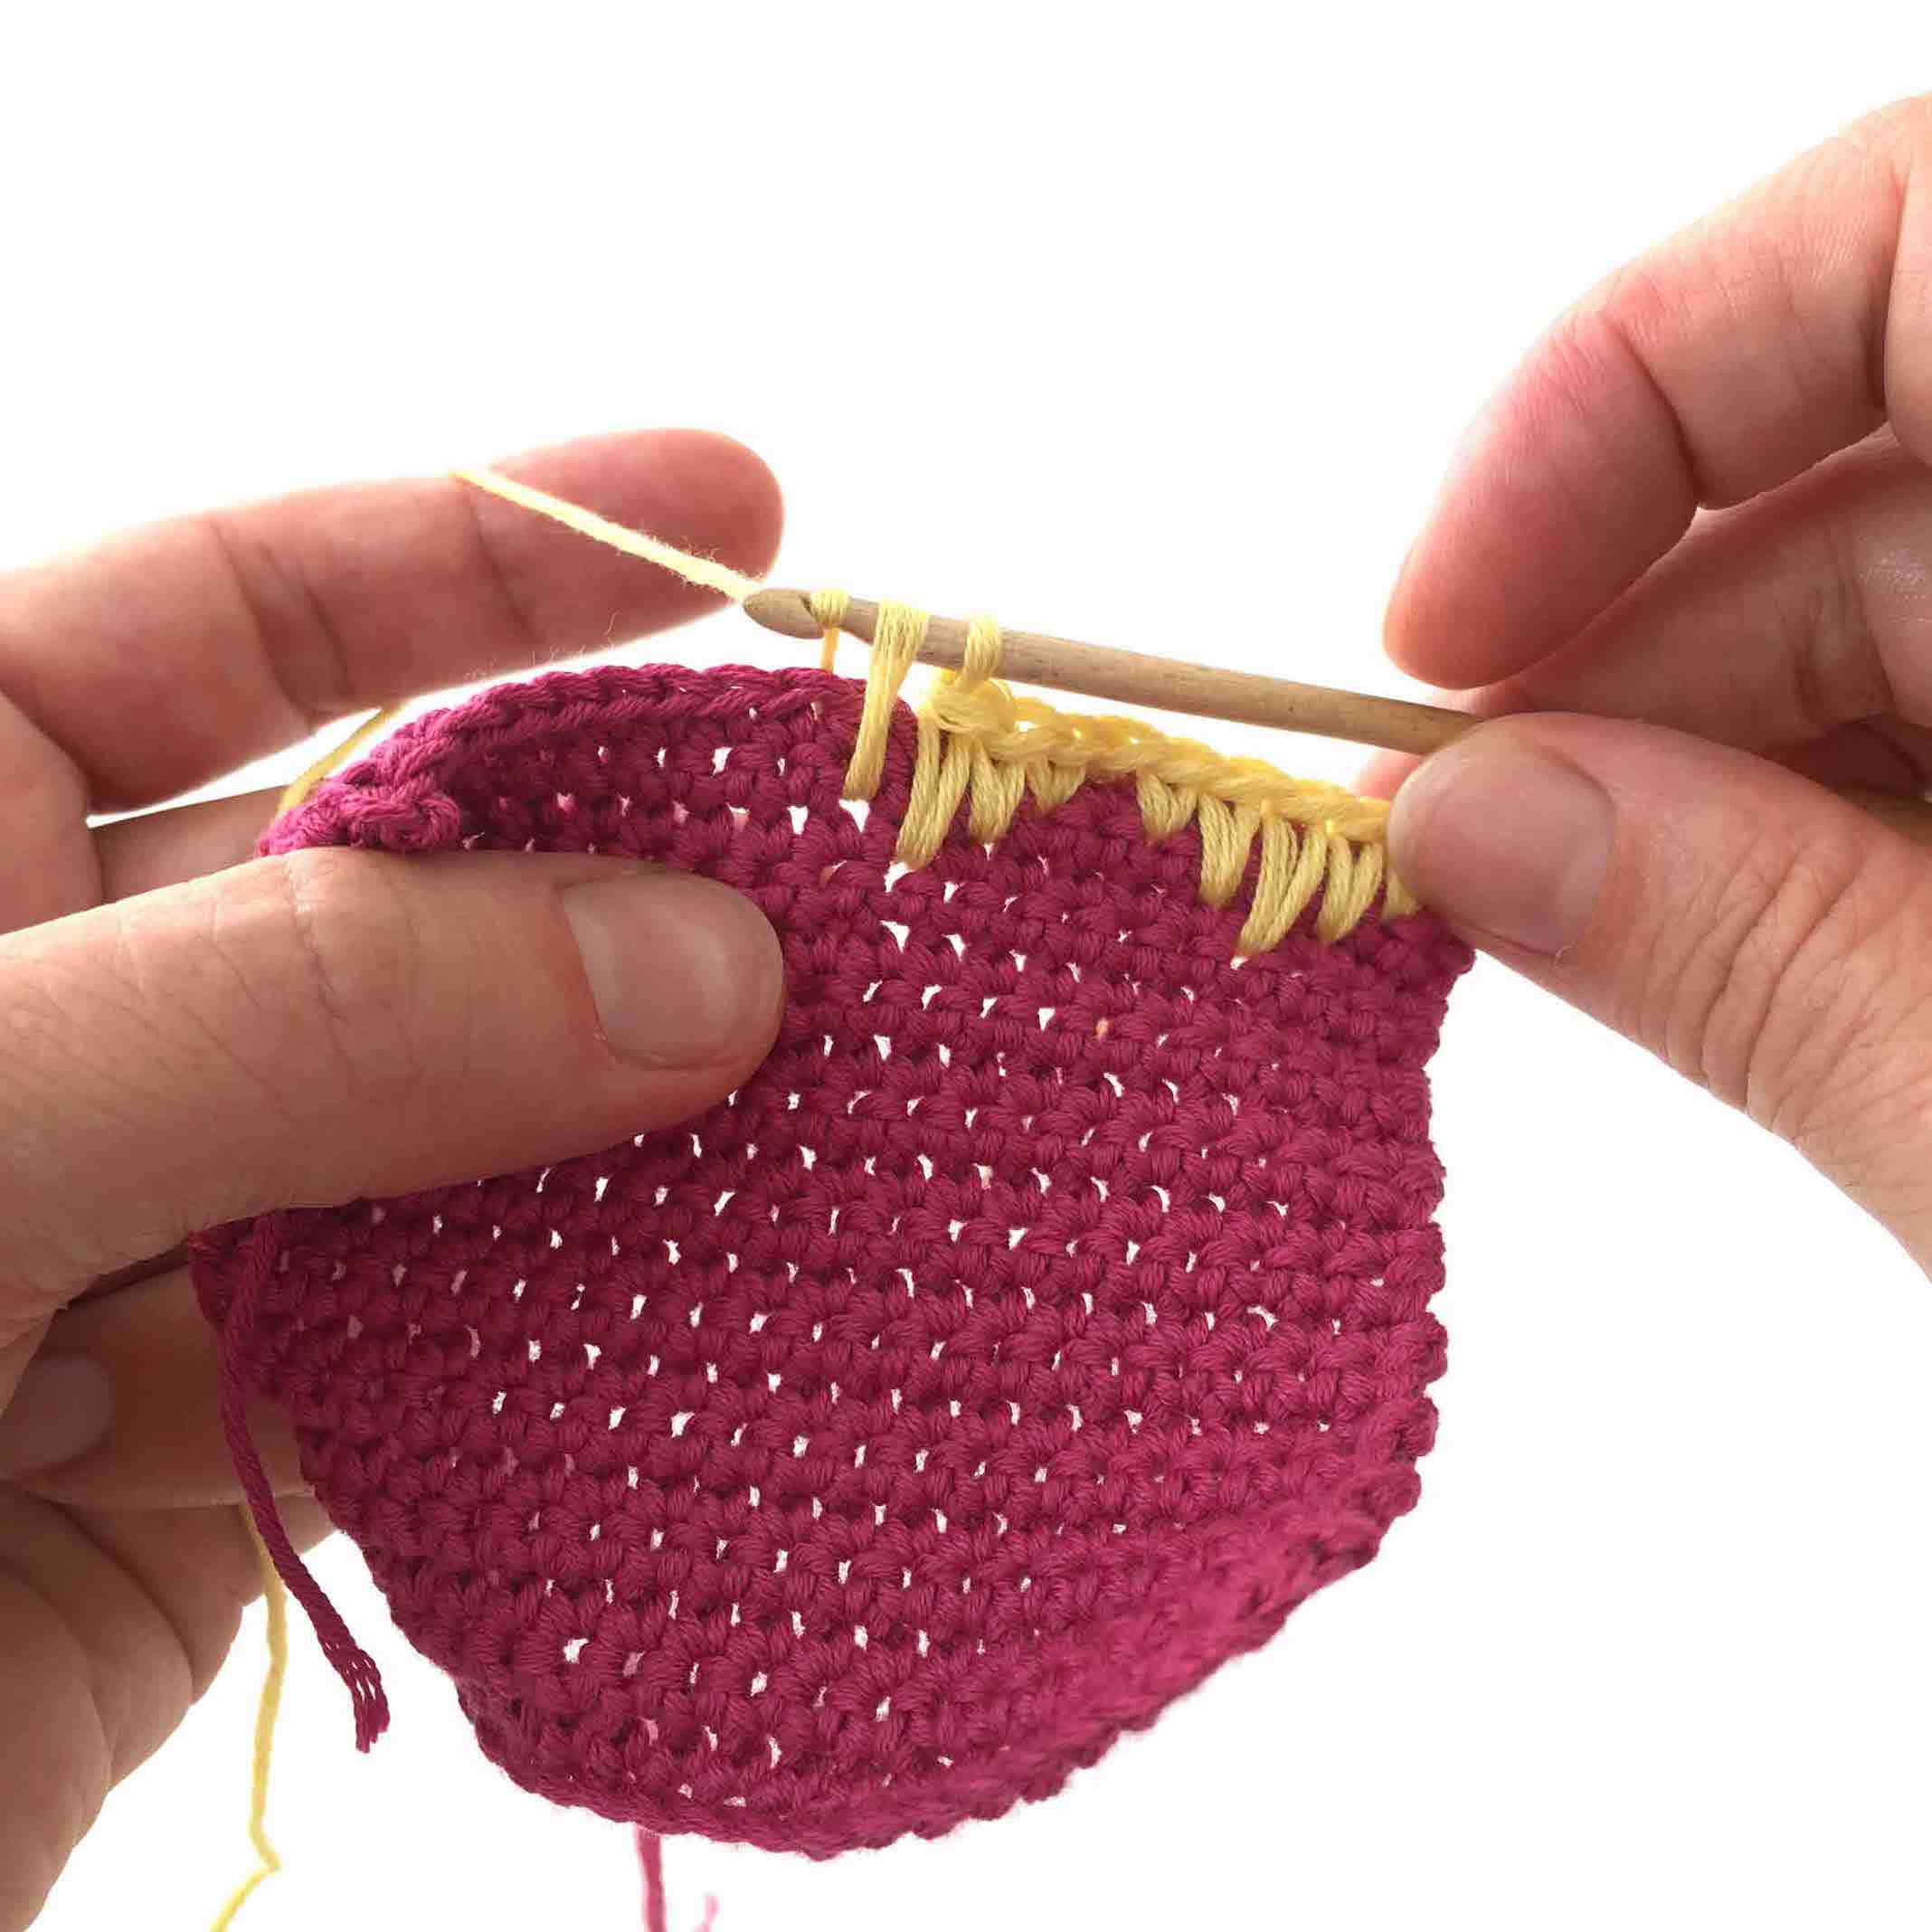
Decide where you want your spike stitch to land. Insert your hook into the row below your current row, rather than the top of the stitch you’re working into. You can insert the hook one, two, or even more rows down, depending on how long you want the spike to be.
Yarn over and pull the yarn through the stitch from the lower row. Be sure to pull the loop up to the height of your current row to keep your work even.
Yarn over again and pull through both loops on the hook to complete the spike stitch, just as you would in a single crochet.
Repeat the process across your row, inserting your hook into different rows below to create the desired pattern. You can mix Spike Stitches with regular Single Crochets to create interesting designs.
Fun Projects with the Spike Stitch
The Spike Stitch opens up a world of creative possibilities. Here are a few fun projects where this stitch shines:
Geometric Blankets: Use the Spike Stitch to create bold, geometric patterns in a cozy blanket. Alternating the length and placement of your spikes can result in striking, modern designs that make your blanket a true statement piece.
Graphic Totes: Add a touch of personality to a crochet tote bag with the Spike Stitch. Whether you’re creating chevrons, zigzags, or random spikes, this stitch can turn a simple tote into a chic accessory.
Playful Pot Holders: Brighten up your kitchen with colorful Spike Stitch pot holders. The texture not only looks great but also adds thickness, making them more functional for handling hot dishes.
Striped Scarves: Combine different colors of yarn with the Spike Stitch to create a striped scarf with a twist. The elongated stitches add a fun texture that makes each stripe pop.
By incorporating the Spike Stitch into your projects, you can elevate your crochet from simple to stunning. Experiment with colors, patterns, and lengths to create one-of-a-kind pieces that reflect your personal style.
what’s hooking
Patterns using this stitch
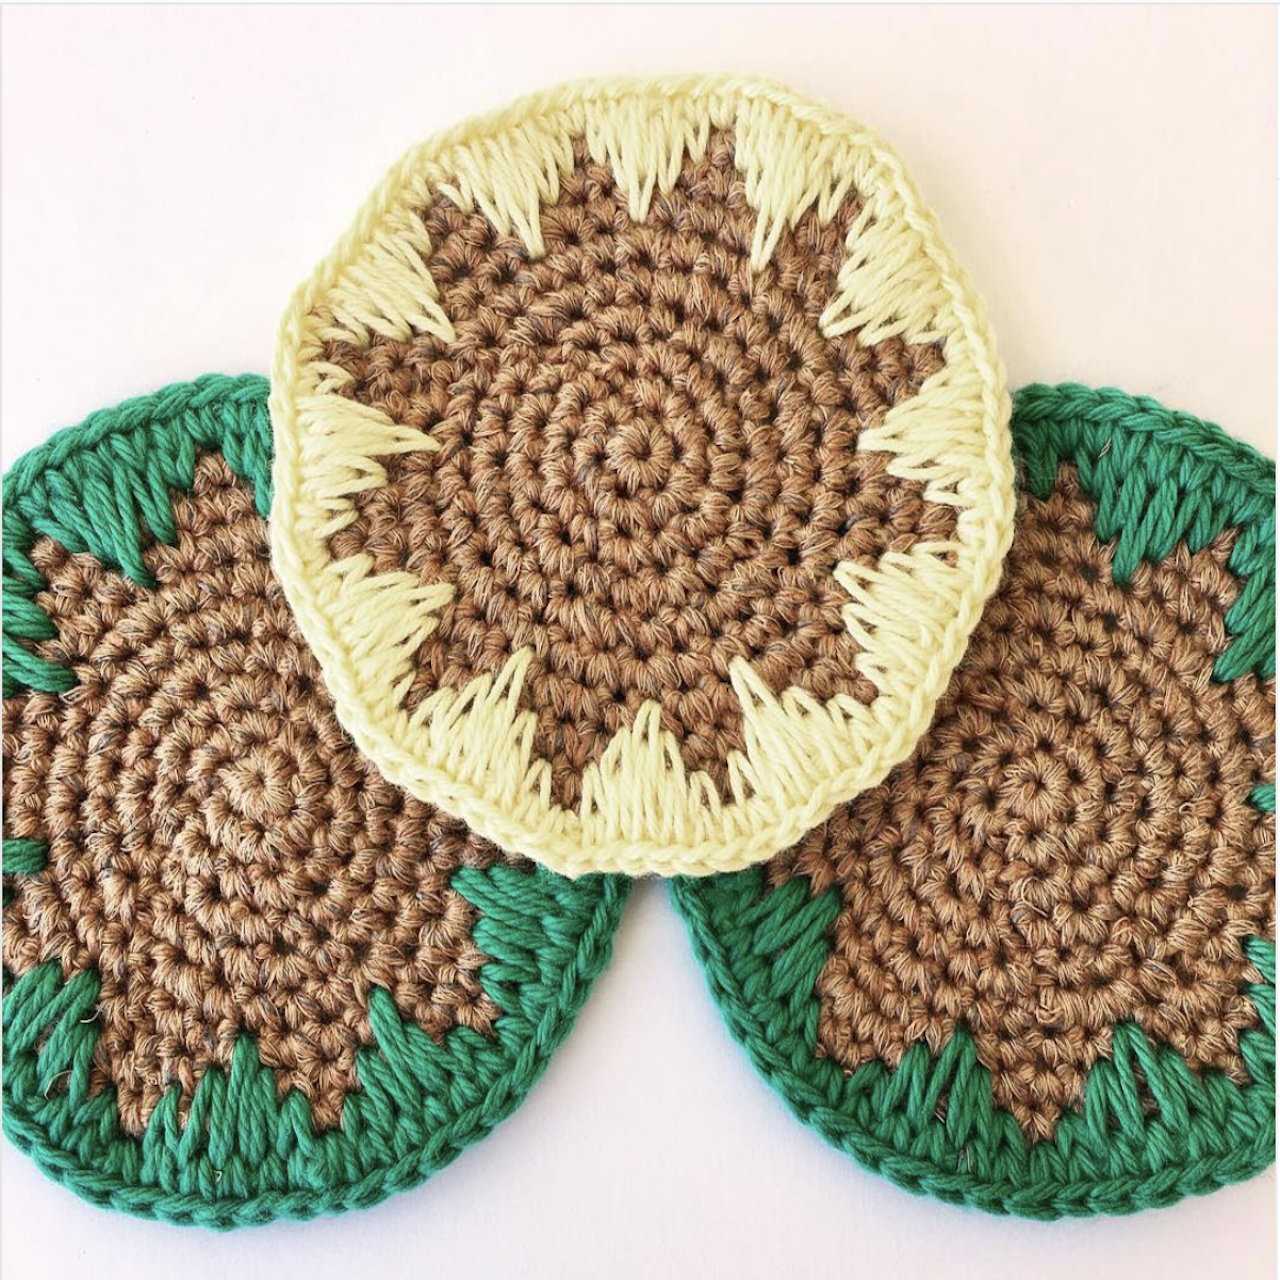
Coasters

