Slip stitch
The Slip Stitch is one of the most versatile and essential stitches in crochet. It’s often used to join rounds, move your yarn to a different spot in your work, or create a neat, seamless edge. While it’s one of the simplest stitches, mastering it opens up a world of possibilities in your crochet projects.

Instructions

Step 1
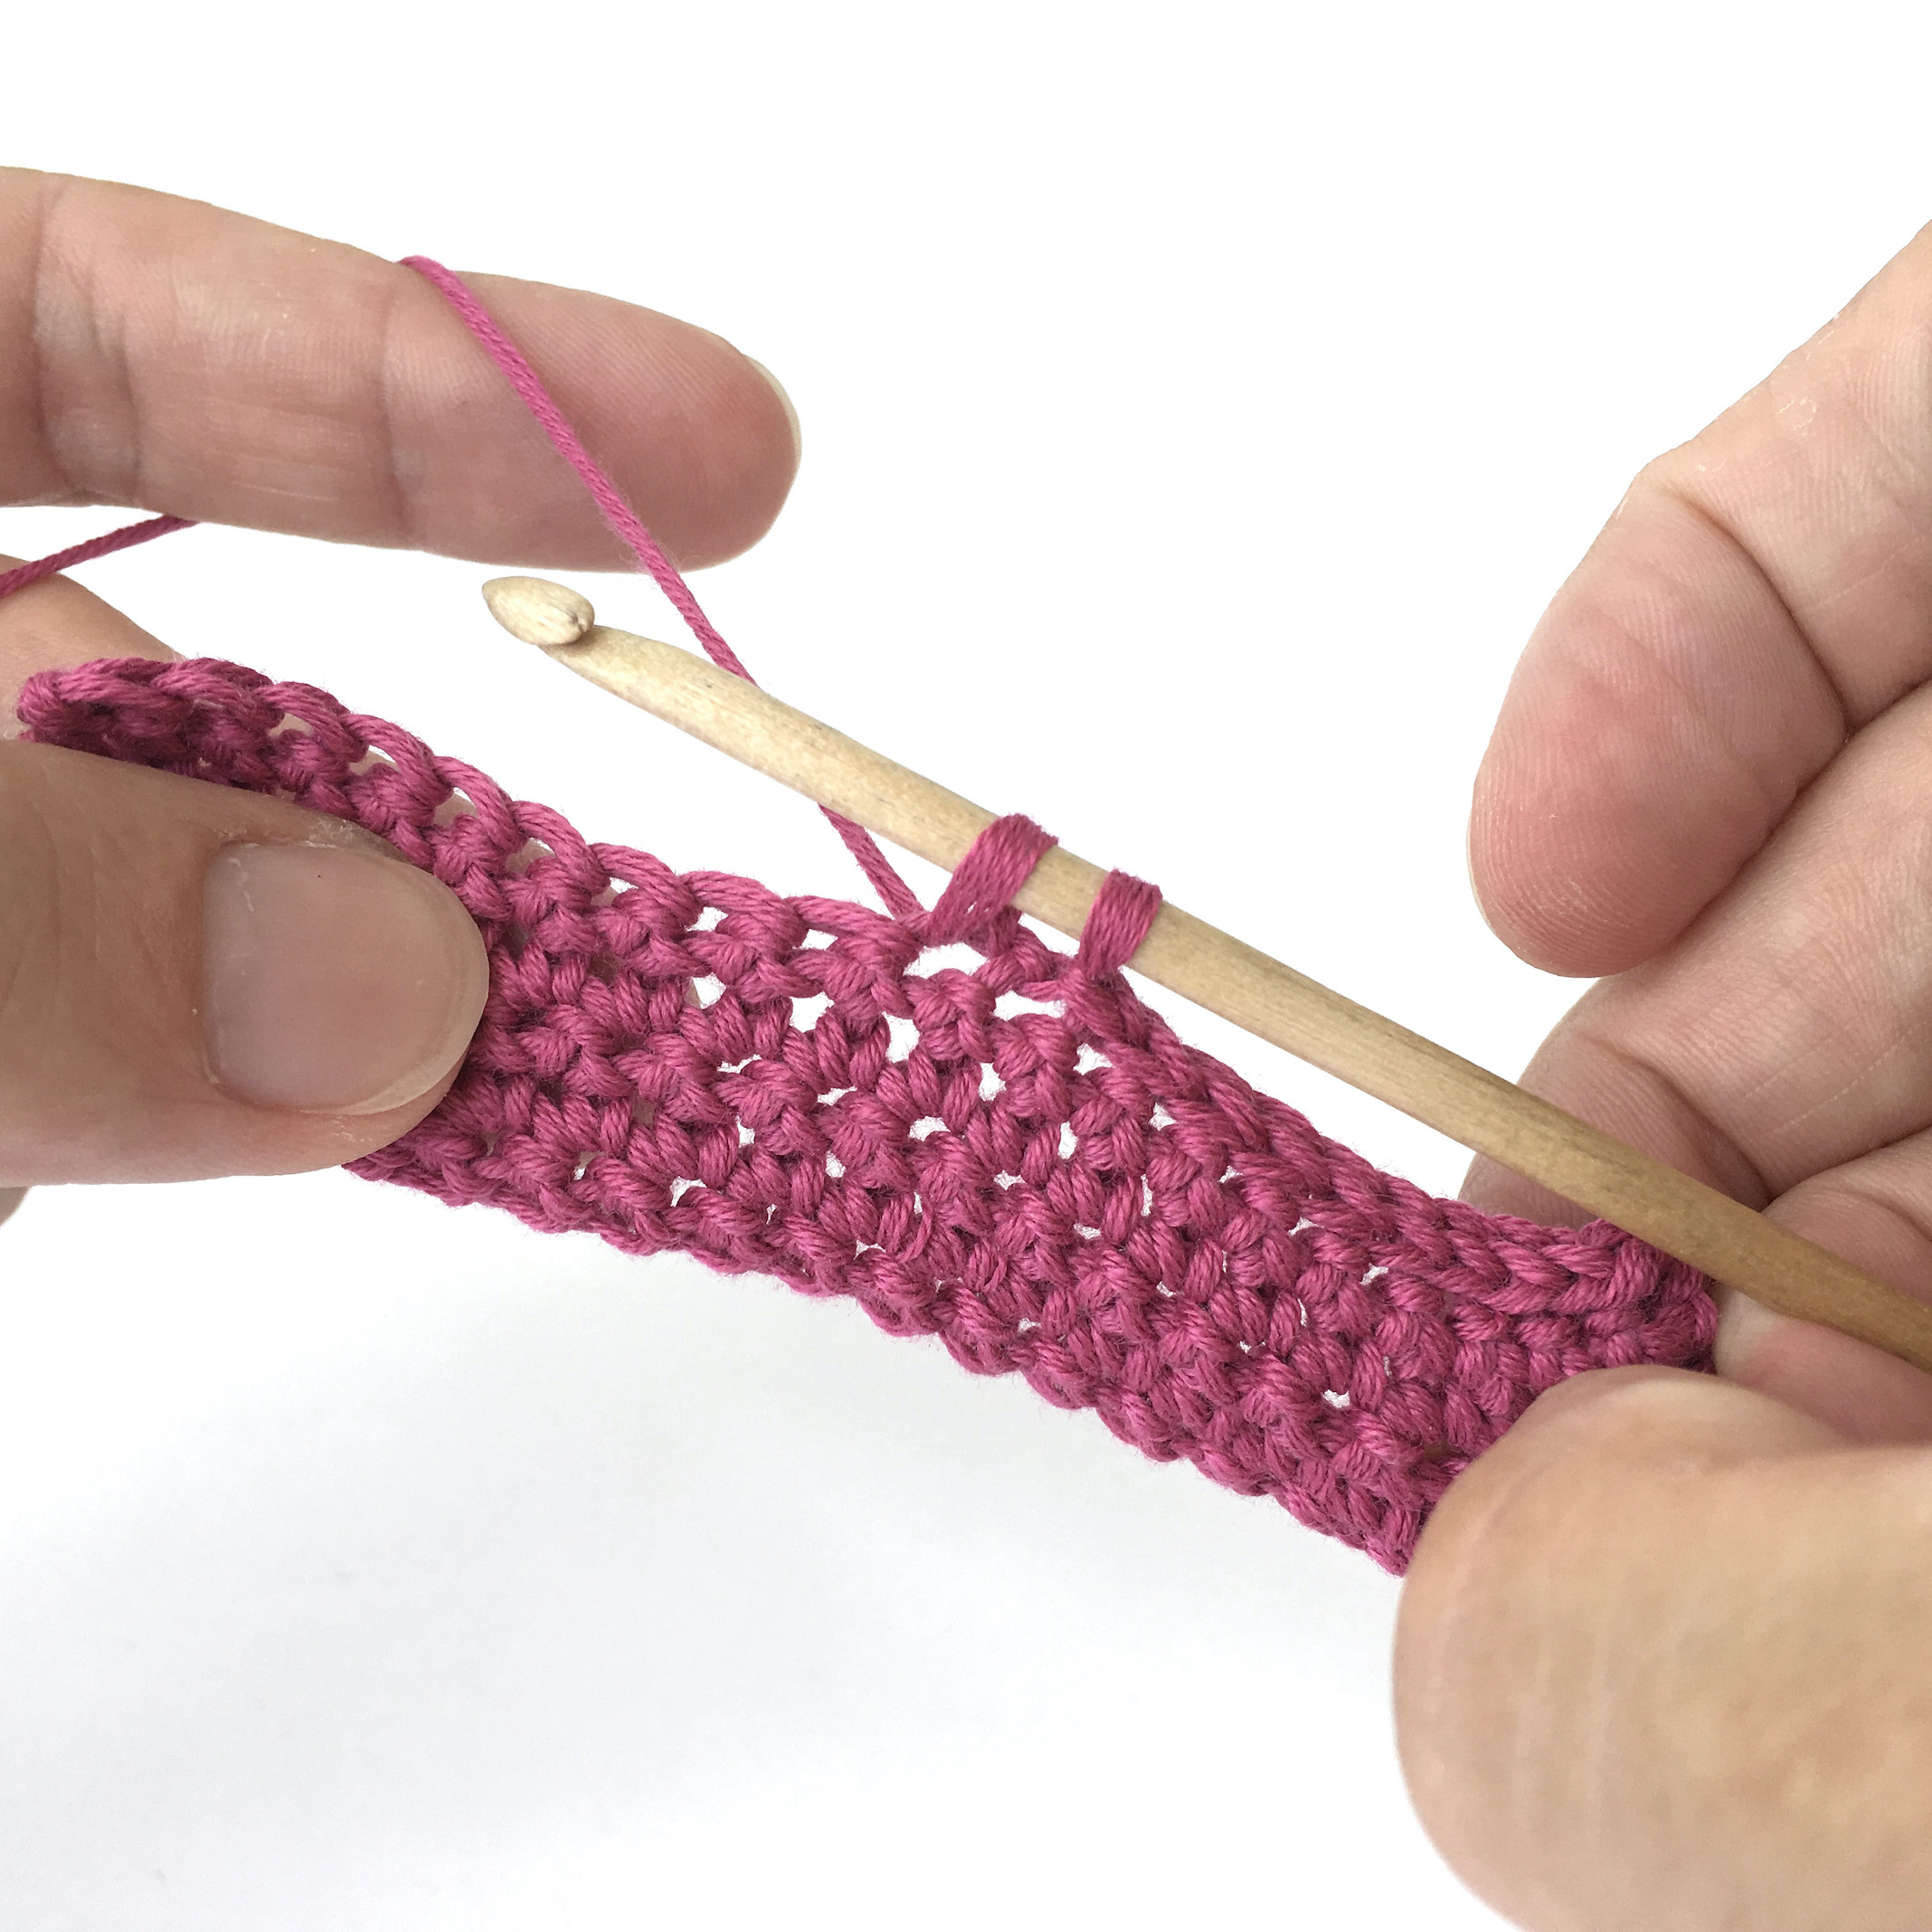
Begin with a chain or a row of stitches that you’ll be working into. Insert your crochet hook into the desired stitch.
Wrap the yarn over your hook from back to front, just like you would with other crochet stitches. Pull the yarn through the stitch you inserted your hook into and through the loop already on your hook in one motion. You should now have only one loop on your hook.
Wrap the yarn over your hook from back to front, just like you would with other crochet stitches. Pull the yarn through the stitch you inserted your hook into and through the loop already on your hook in one motion. You should now have only one loop on your hook.
tips & Tricks
Tighten if Necessary: Gently pull on the working yarn to snug up the slip stitch if needed. It should lie flat and nearly invisible.
Continue as Needed: If you’re joining a round, your slip stitch has likely completed that round. If you’re moving across stitches, repeat the process until you reach your desired spot.
Now that you’ve mastered the slip stitch, you’re ready to connect and shape your crochet pieces with confidence. Enjoy exploring new stitches and techniques as you continue your crochet journey!
what’s hooking
Patterns using this stitch
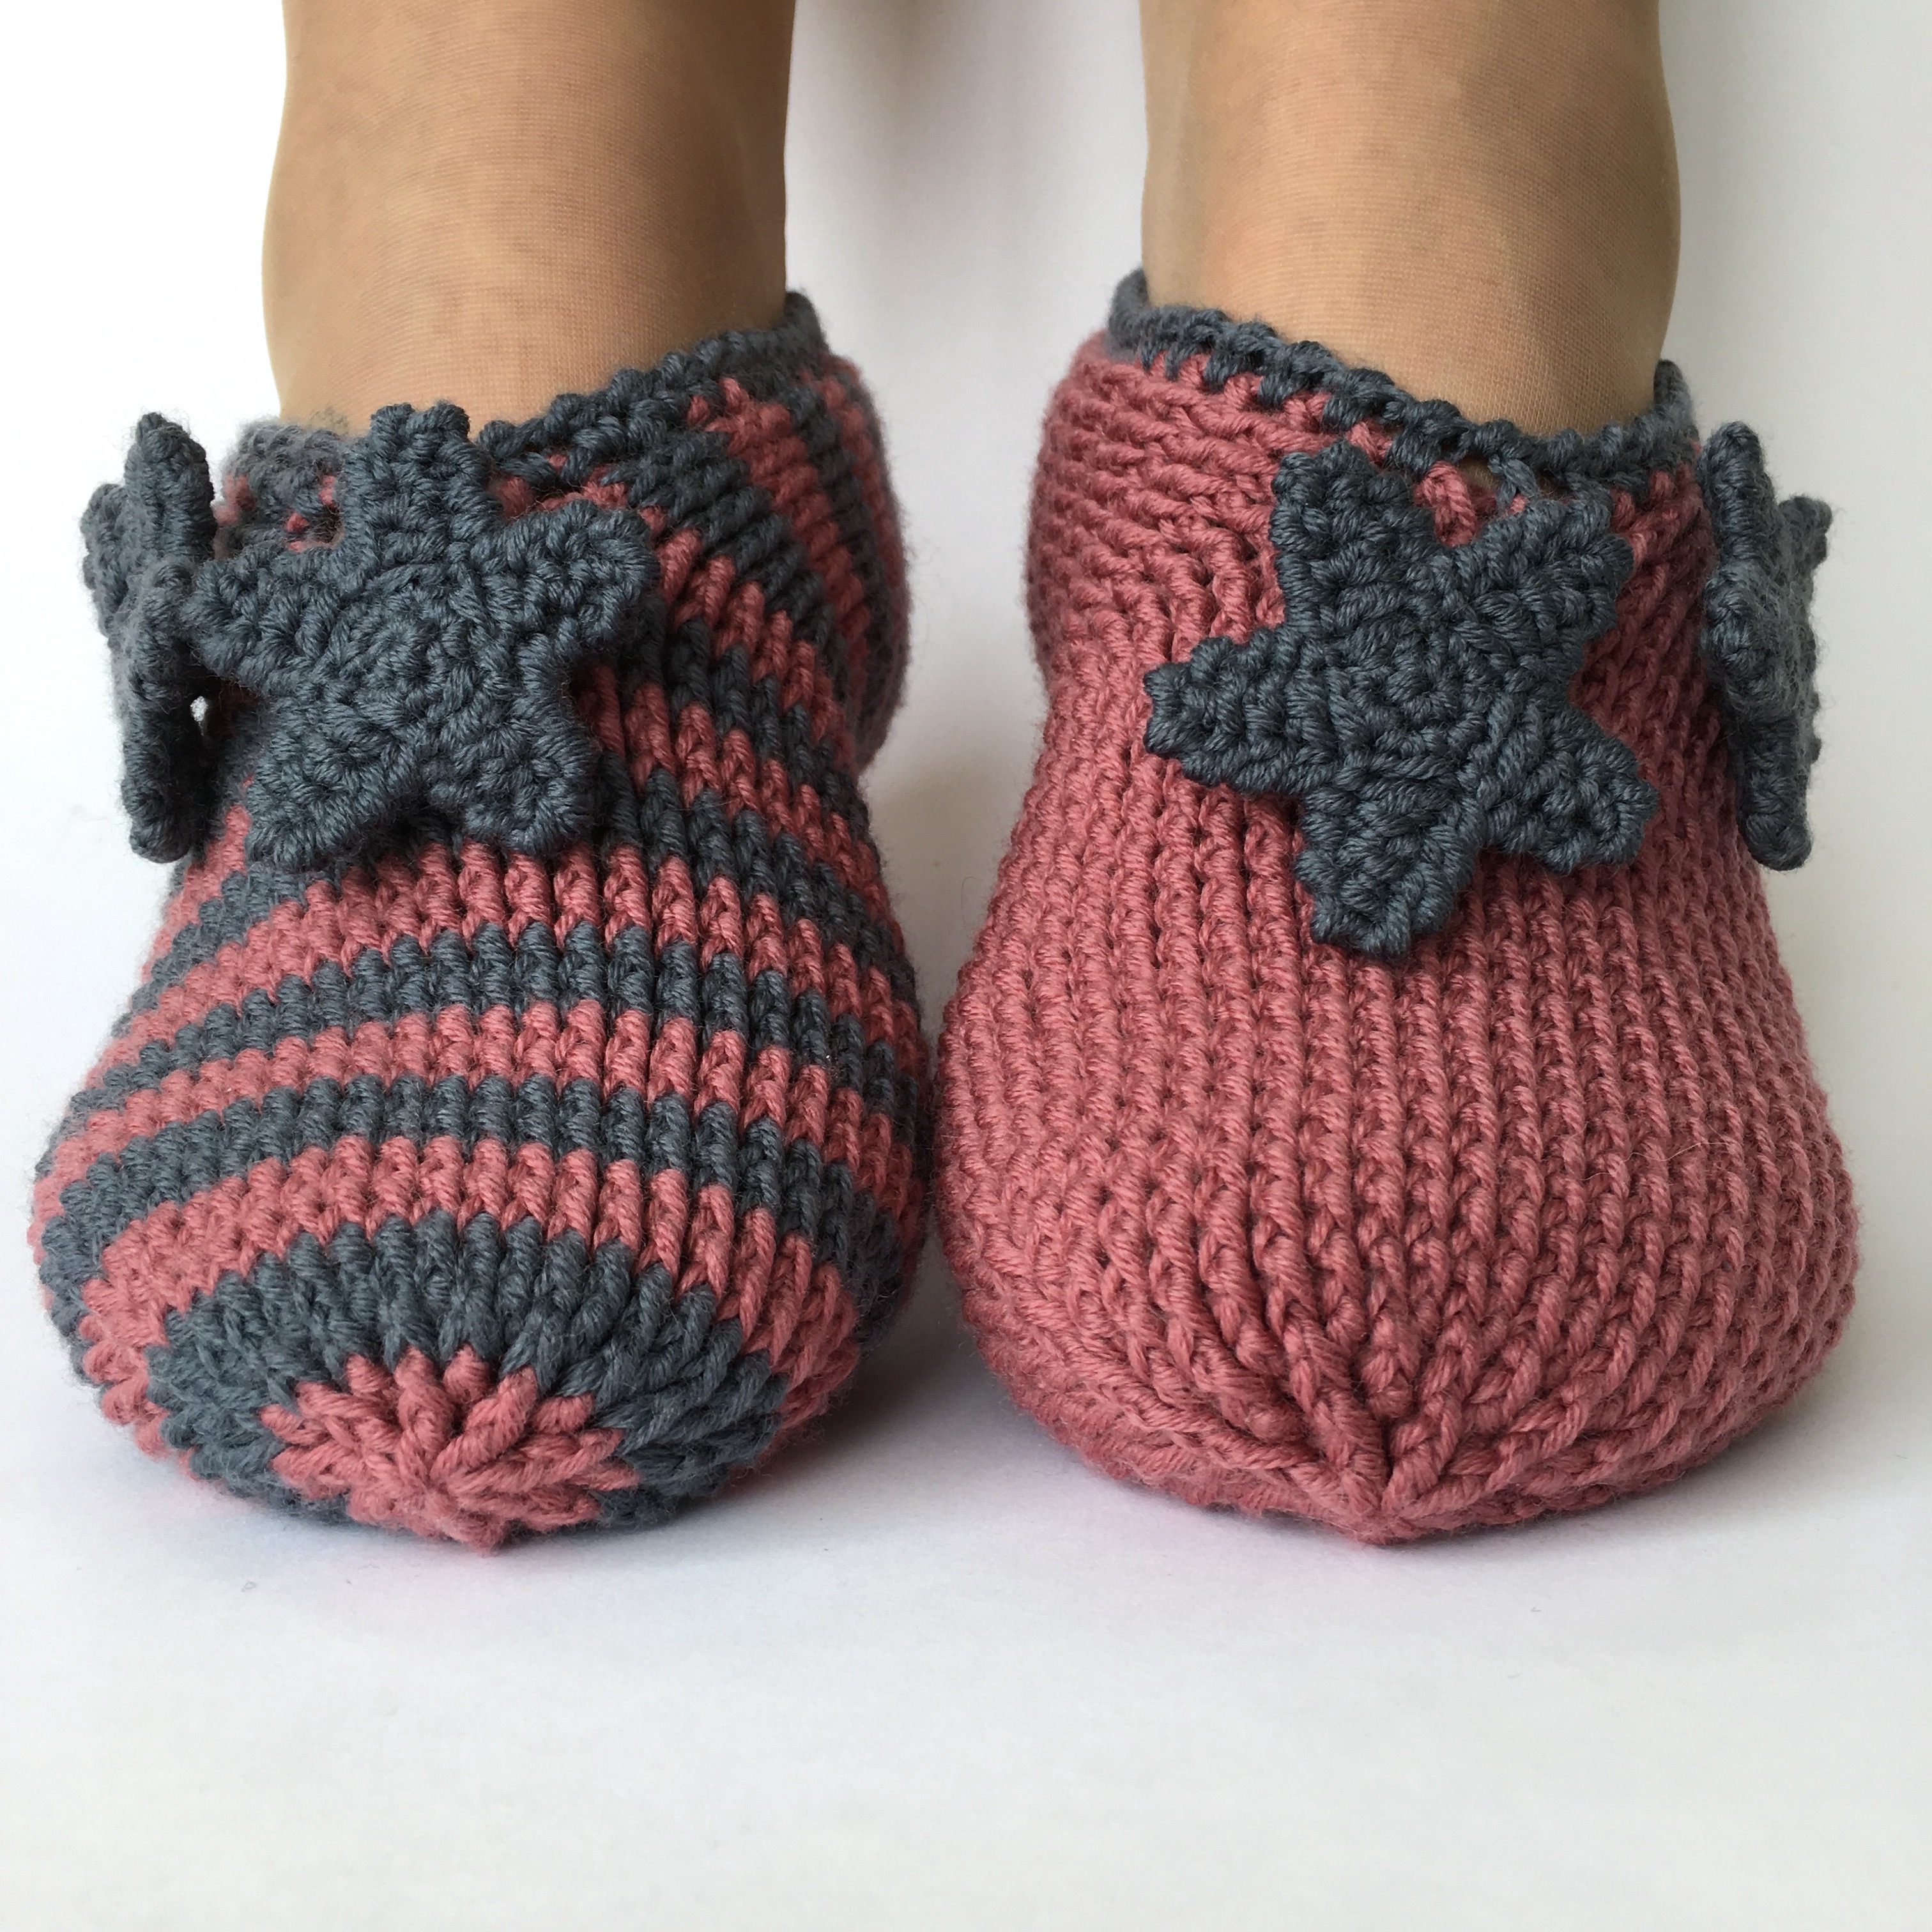
slippers

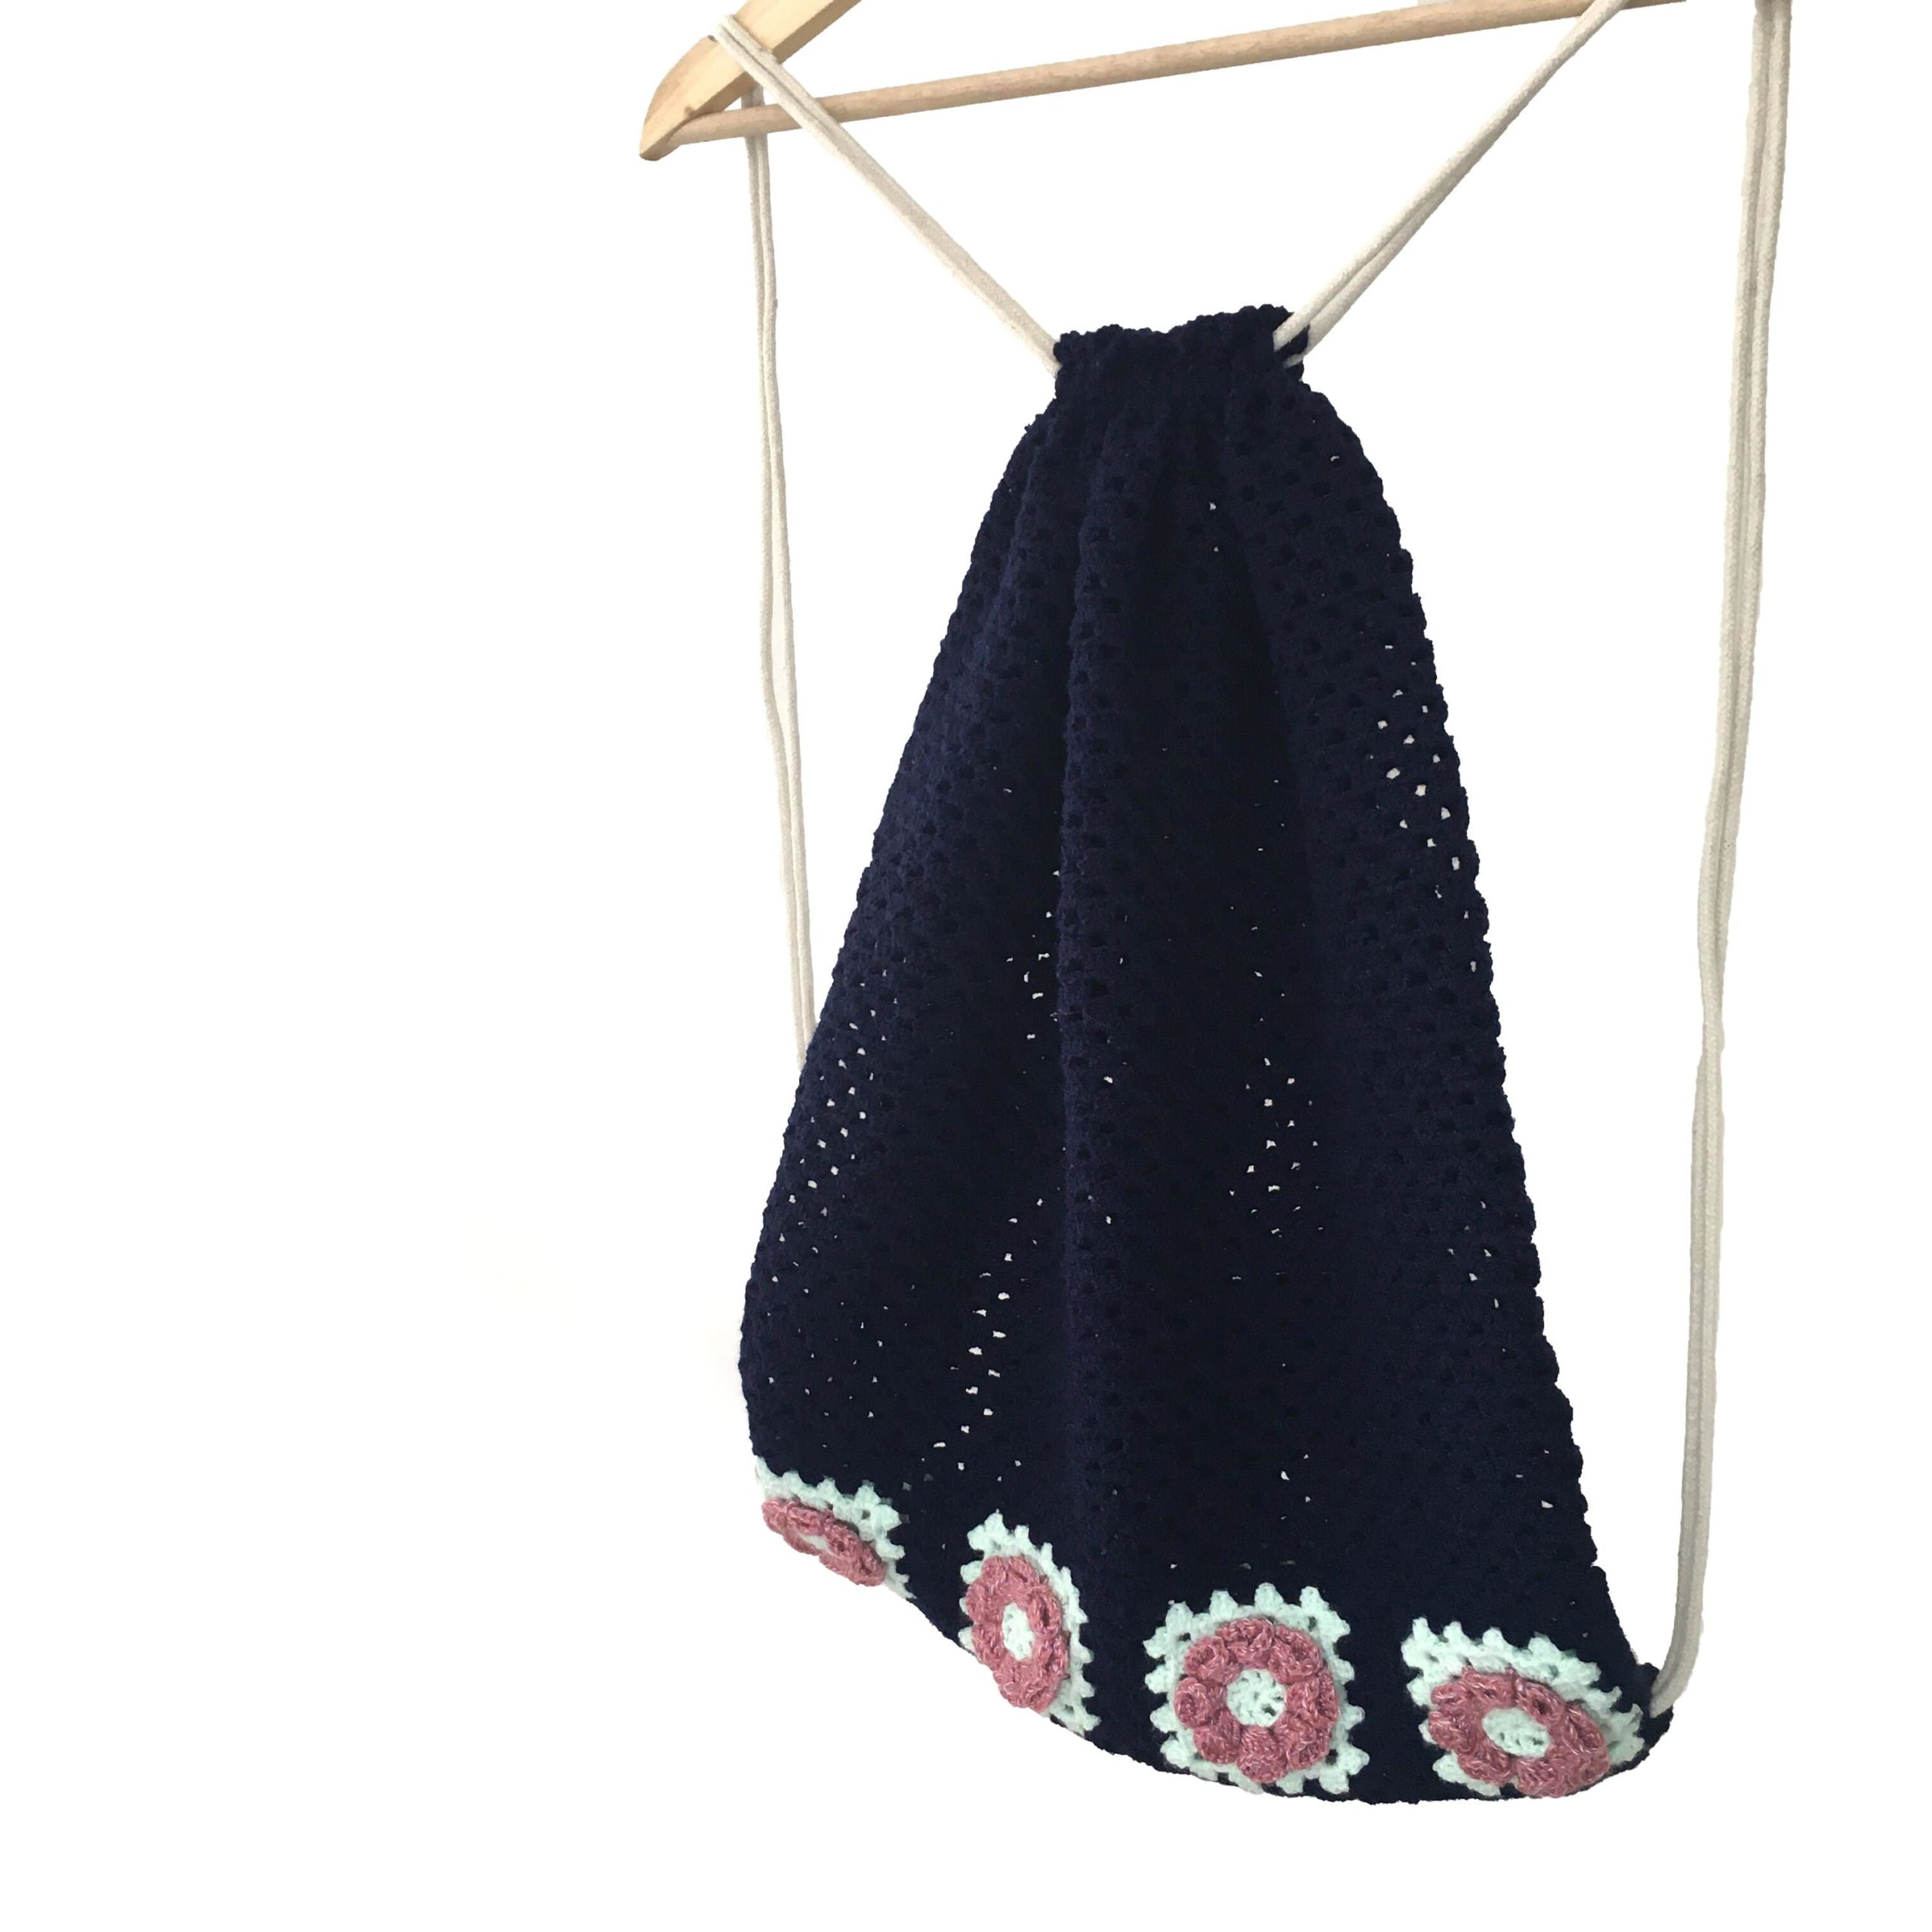
granny gym bag

