magic circle
There are two ways of starting a project worked in the round:
1: You can create a chain that is turned into a circle by making a slip stitch in the first chain. After this you will work your crochet stitches into the middle. Often this technique will create a hole in the middle.
2: If you want to close up this hole entirely, you can instead crochet a Magic Circle. In a pattern this technique replaces chain + first row.
Below example is with 6 Single Crochets in the first row.

Instructions

Step 1
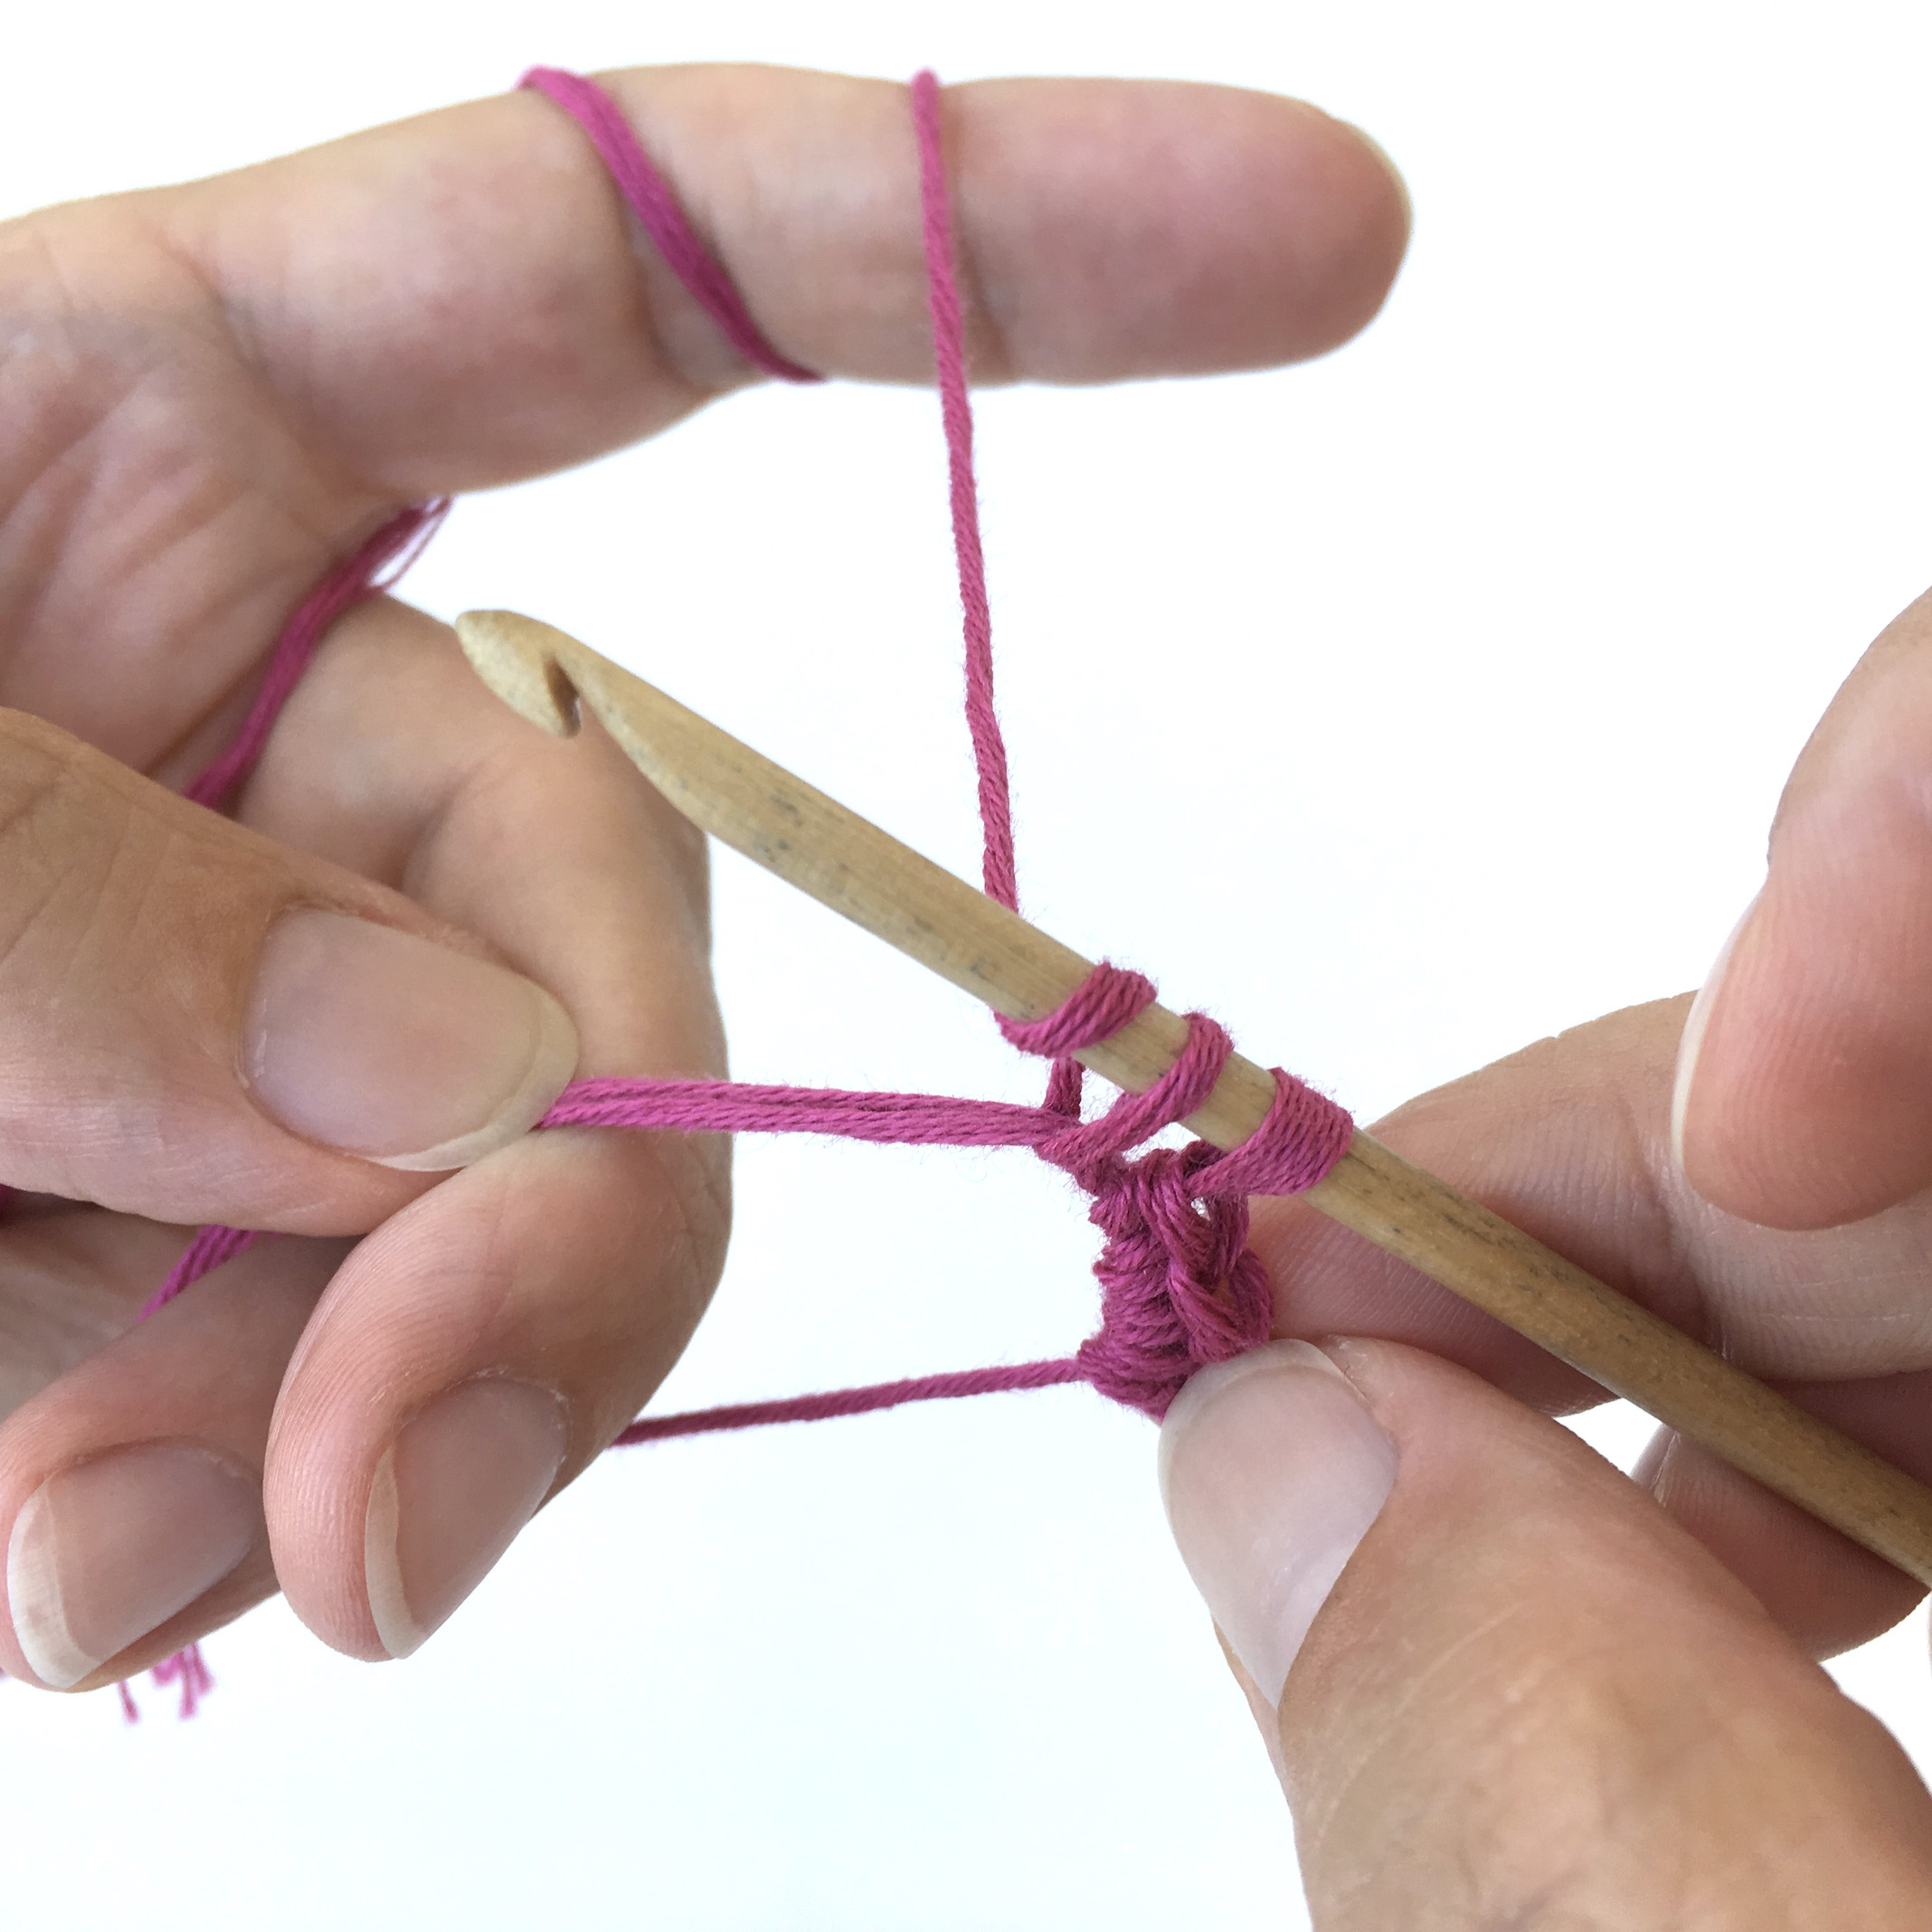
Make a slip knot with a 10 cm tail-end. Take the strand of yarn coming from the ball and wrap anti clockwise twice around your index finger so that the slip knot is just below the finger furthest away from your palm. Take the tail-end and wrap anti clockwise once around your middle and ring fingers – hold it in place with your thumb.
Insert your hook in the loop. Place yarn around your hook and pull back through the loop. Place the yarn around your hook and pull through both loops.
Continue till you have 6 single crochets.
Pull the tail-end of the yarn and the hole closes up.
Insert your hook in the loop. Place yarn around your hook and pull back through the loop. Place the yarn around your hook and pull through both loops.
Continue till you have 6 single crochets.
Pull the tail-end of the yarn and the hole closes up.
Some patterns will close the round with a Slip Stitch in the first stitch before continuing to round 2.
Others will work in a spiral and skip the Slip Stitch closure. Instead you work the first stitch of round 2 in the first stitch of your Magic Circle.
what’s hooking
Patterns using this stitch
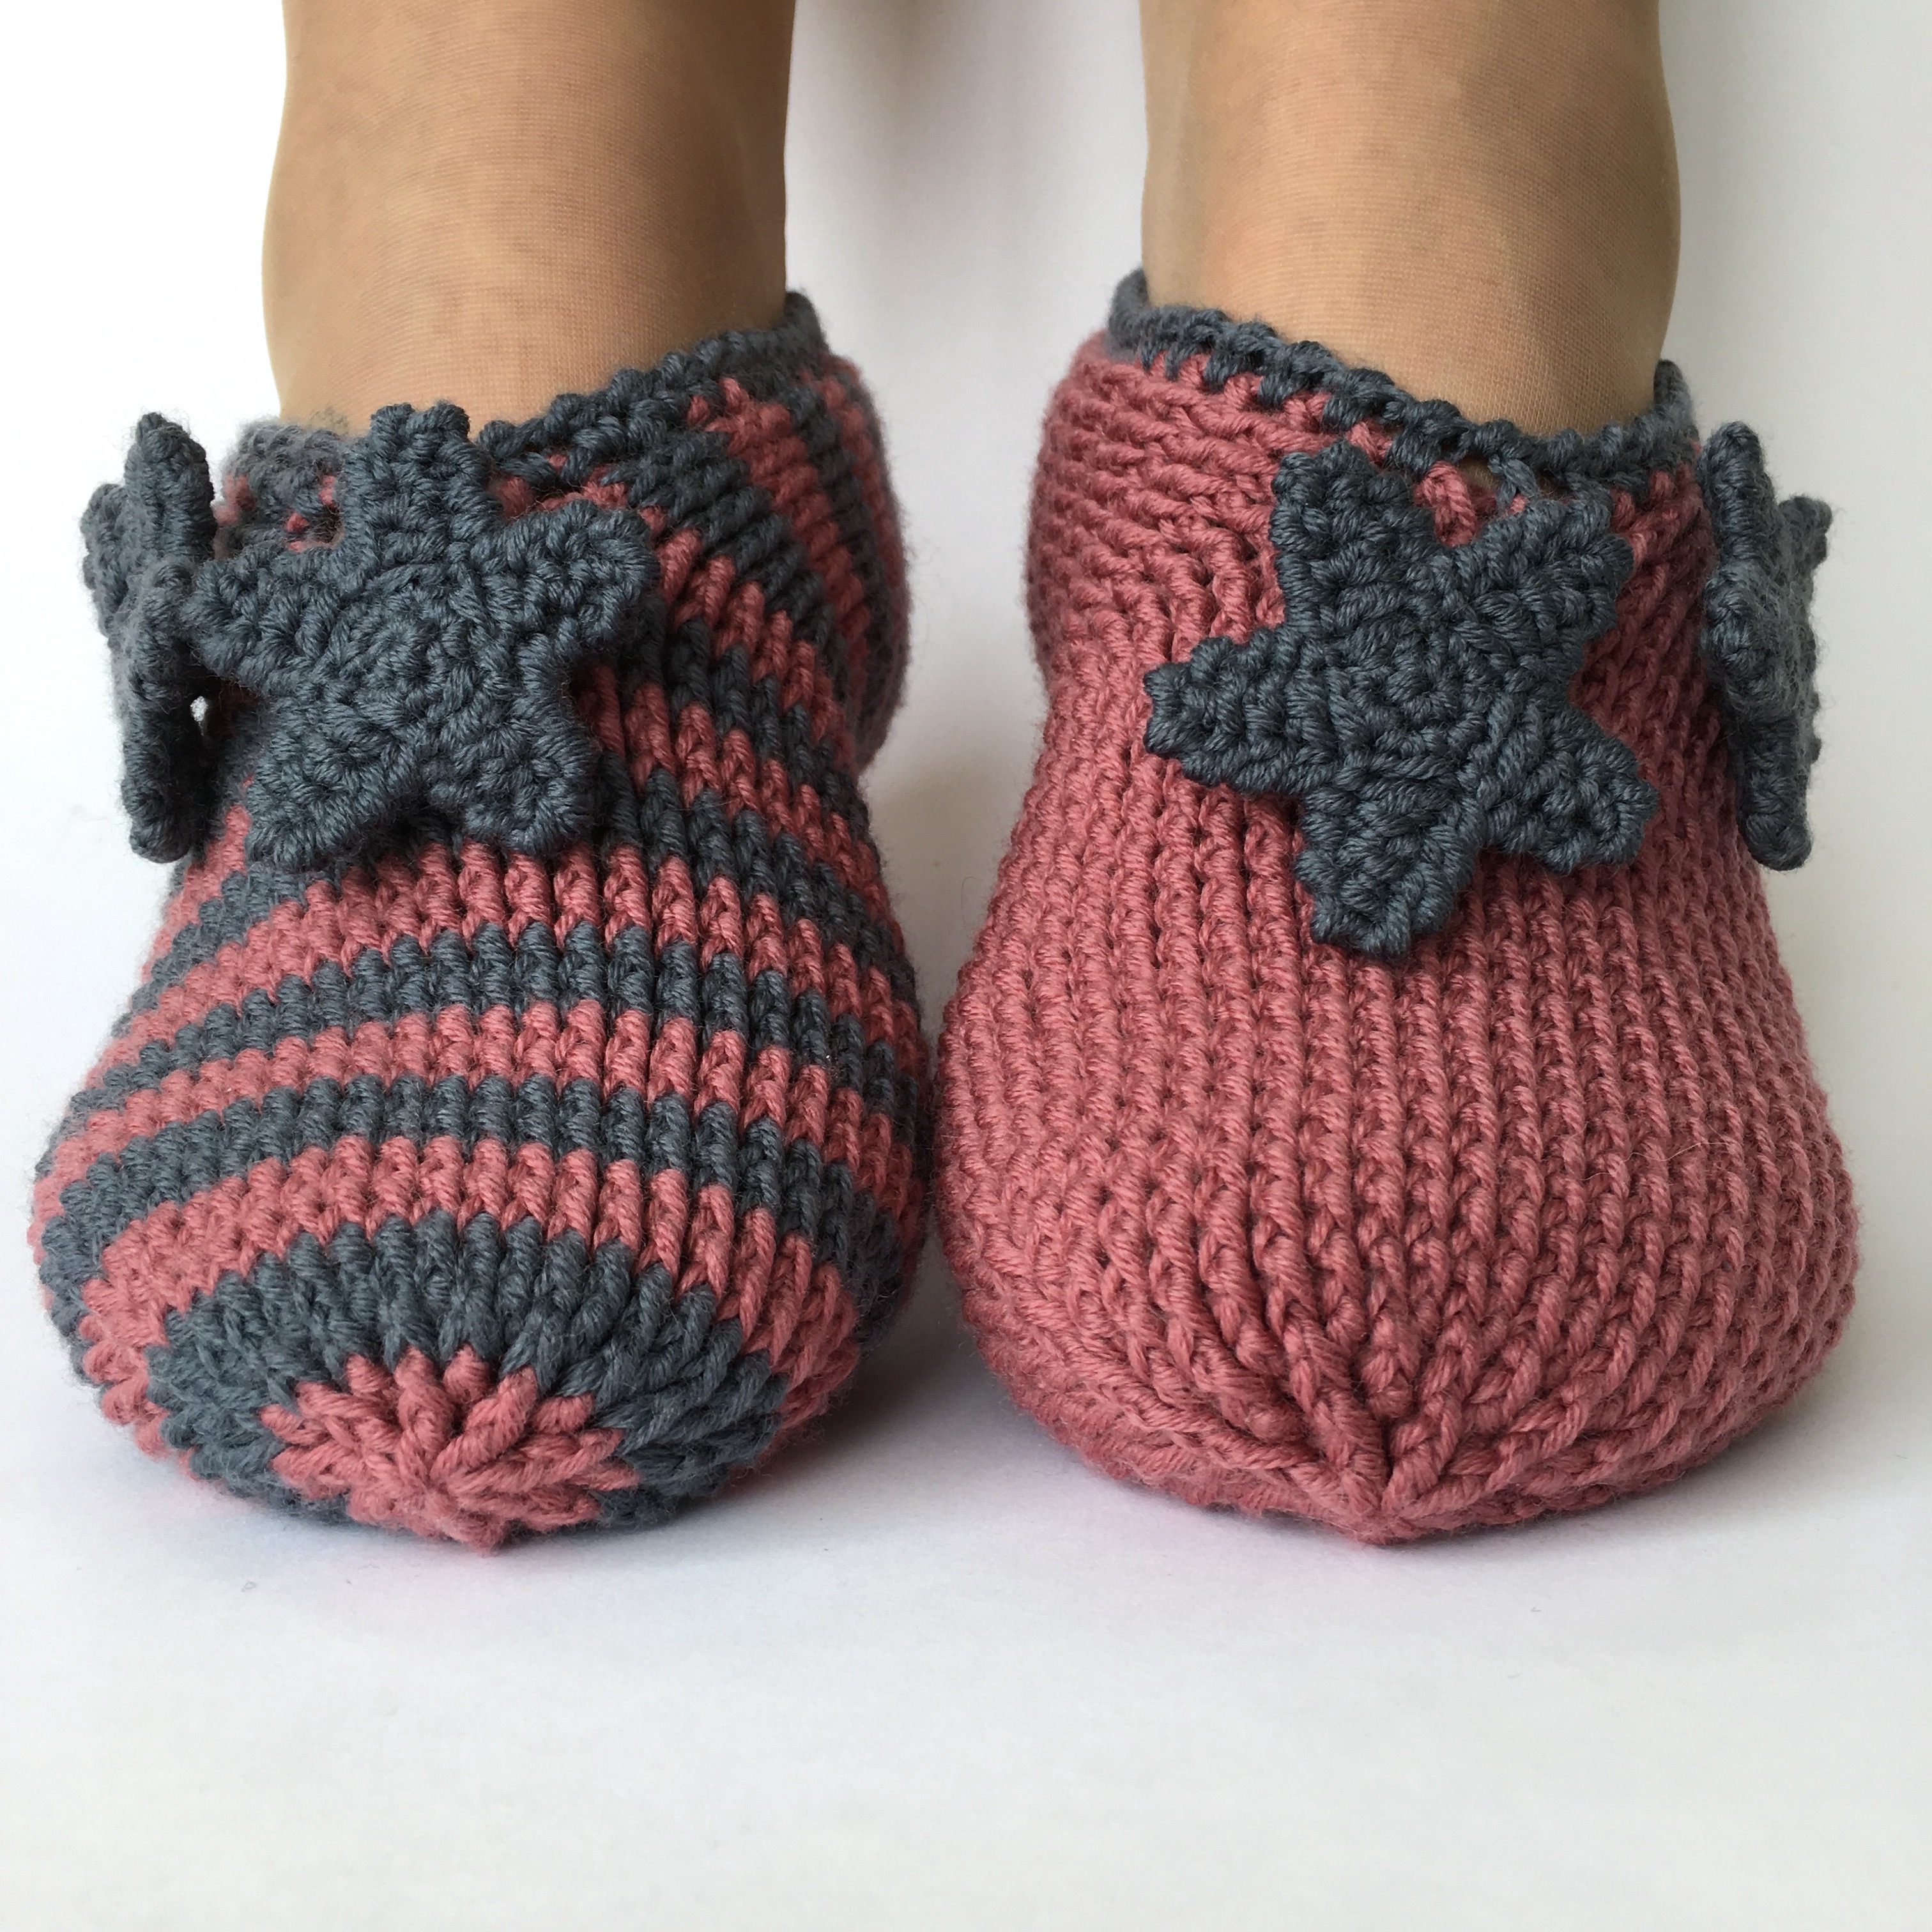
slippers

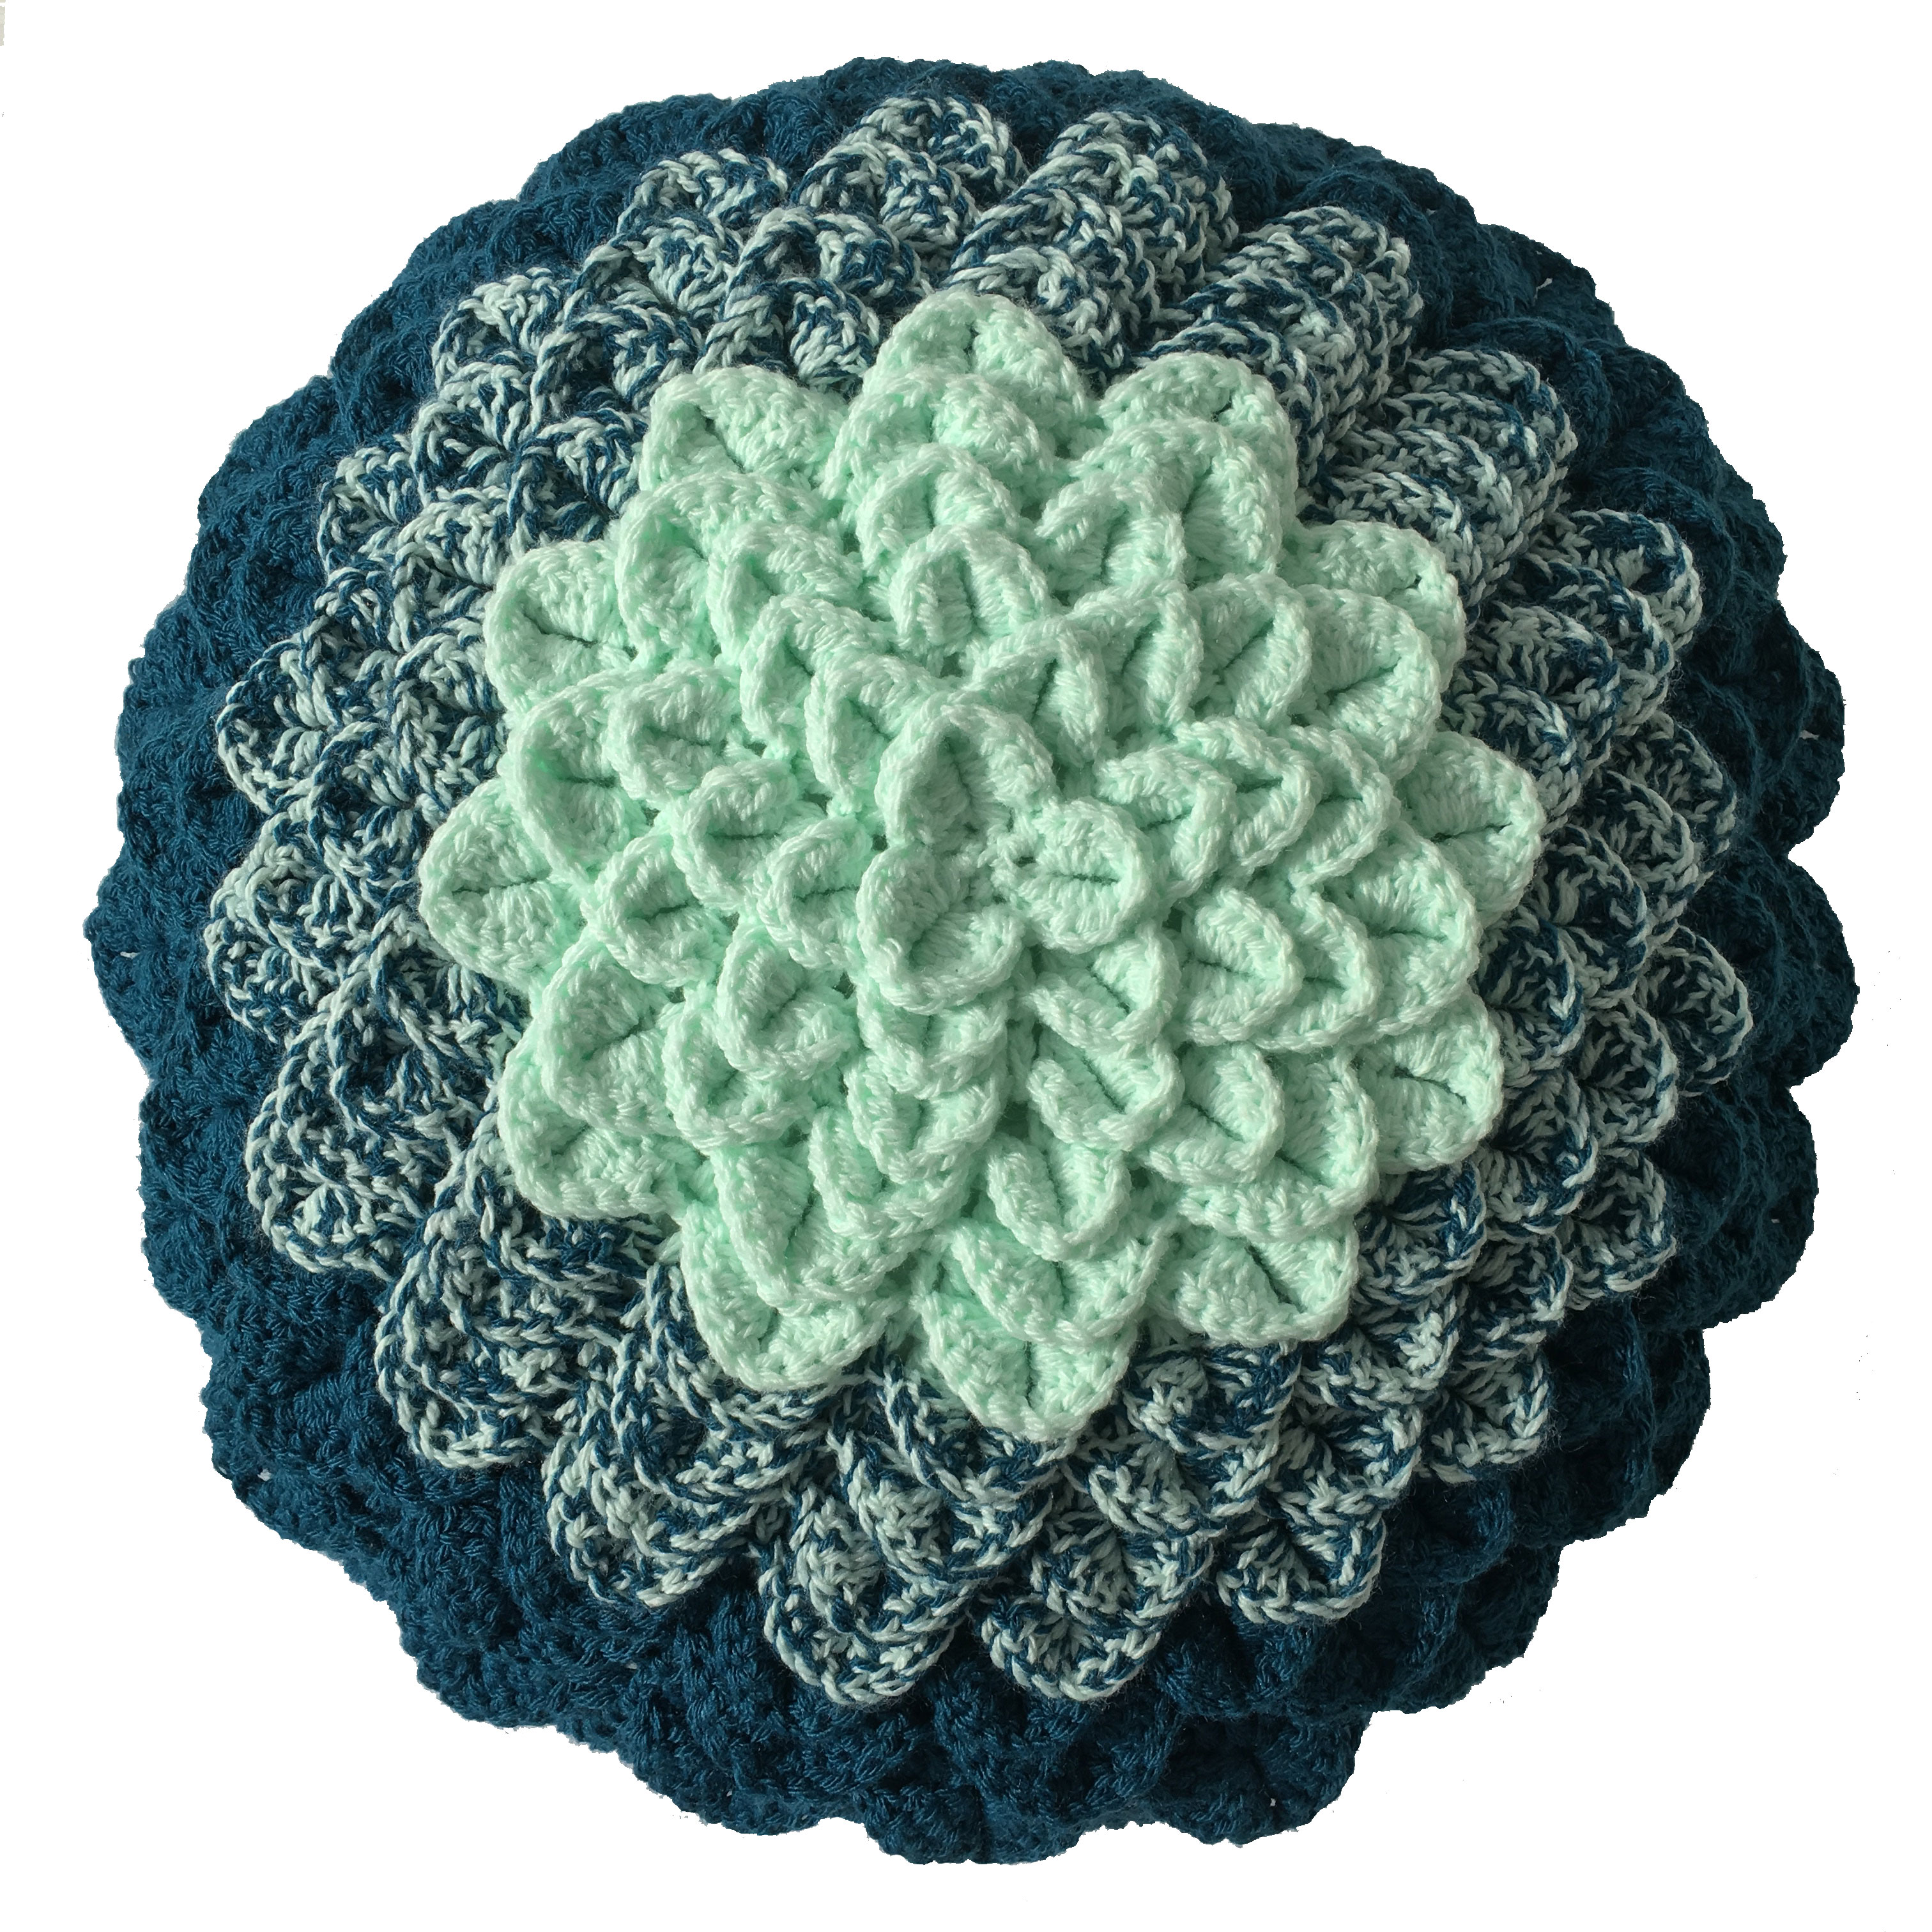
succulent cushion

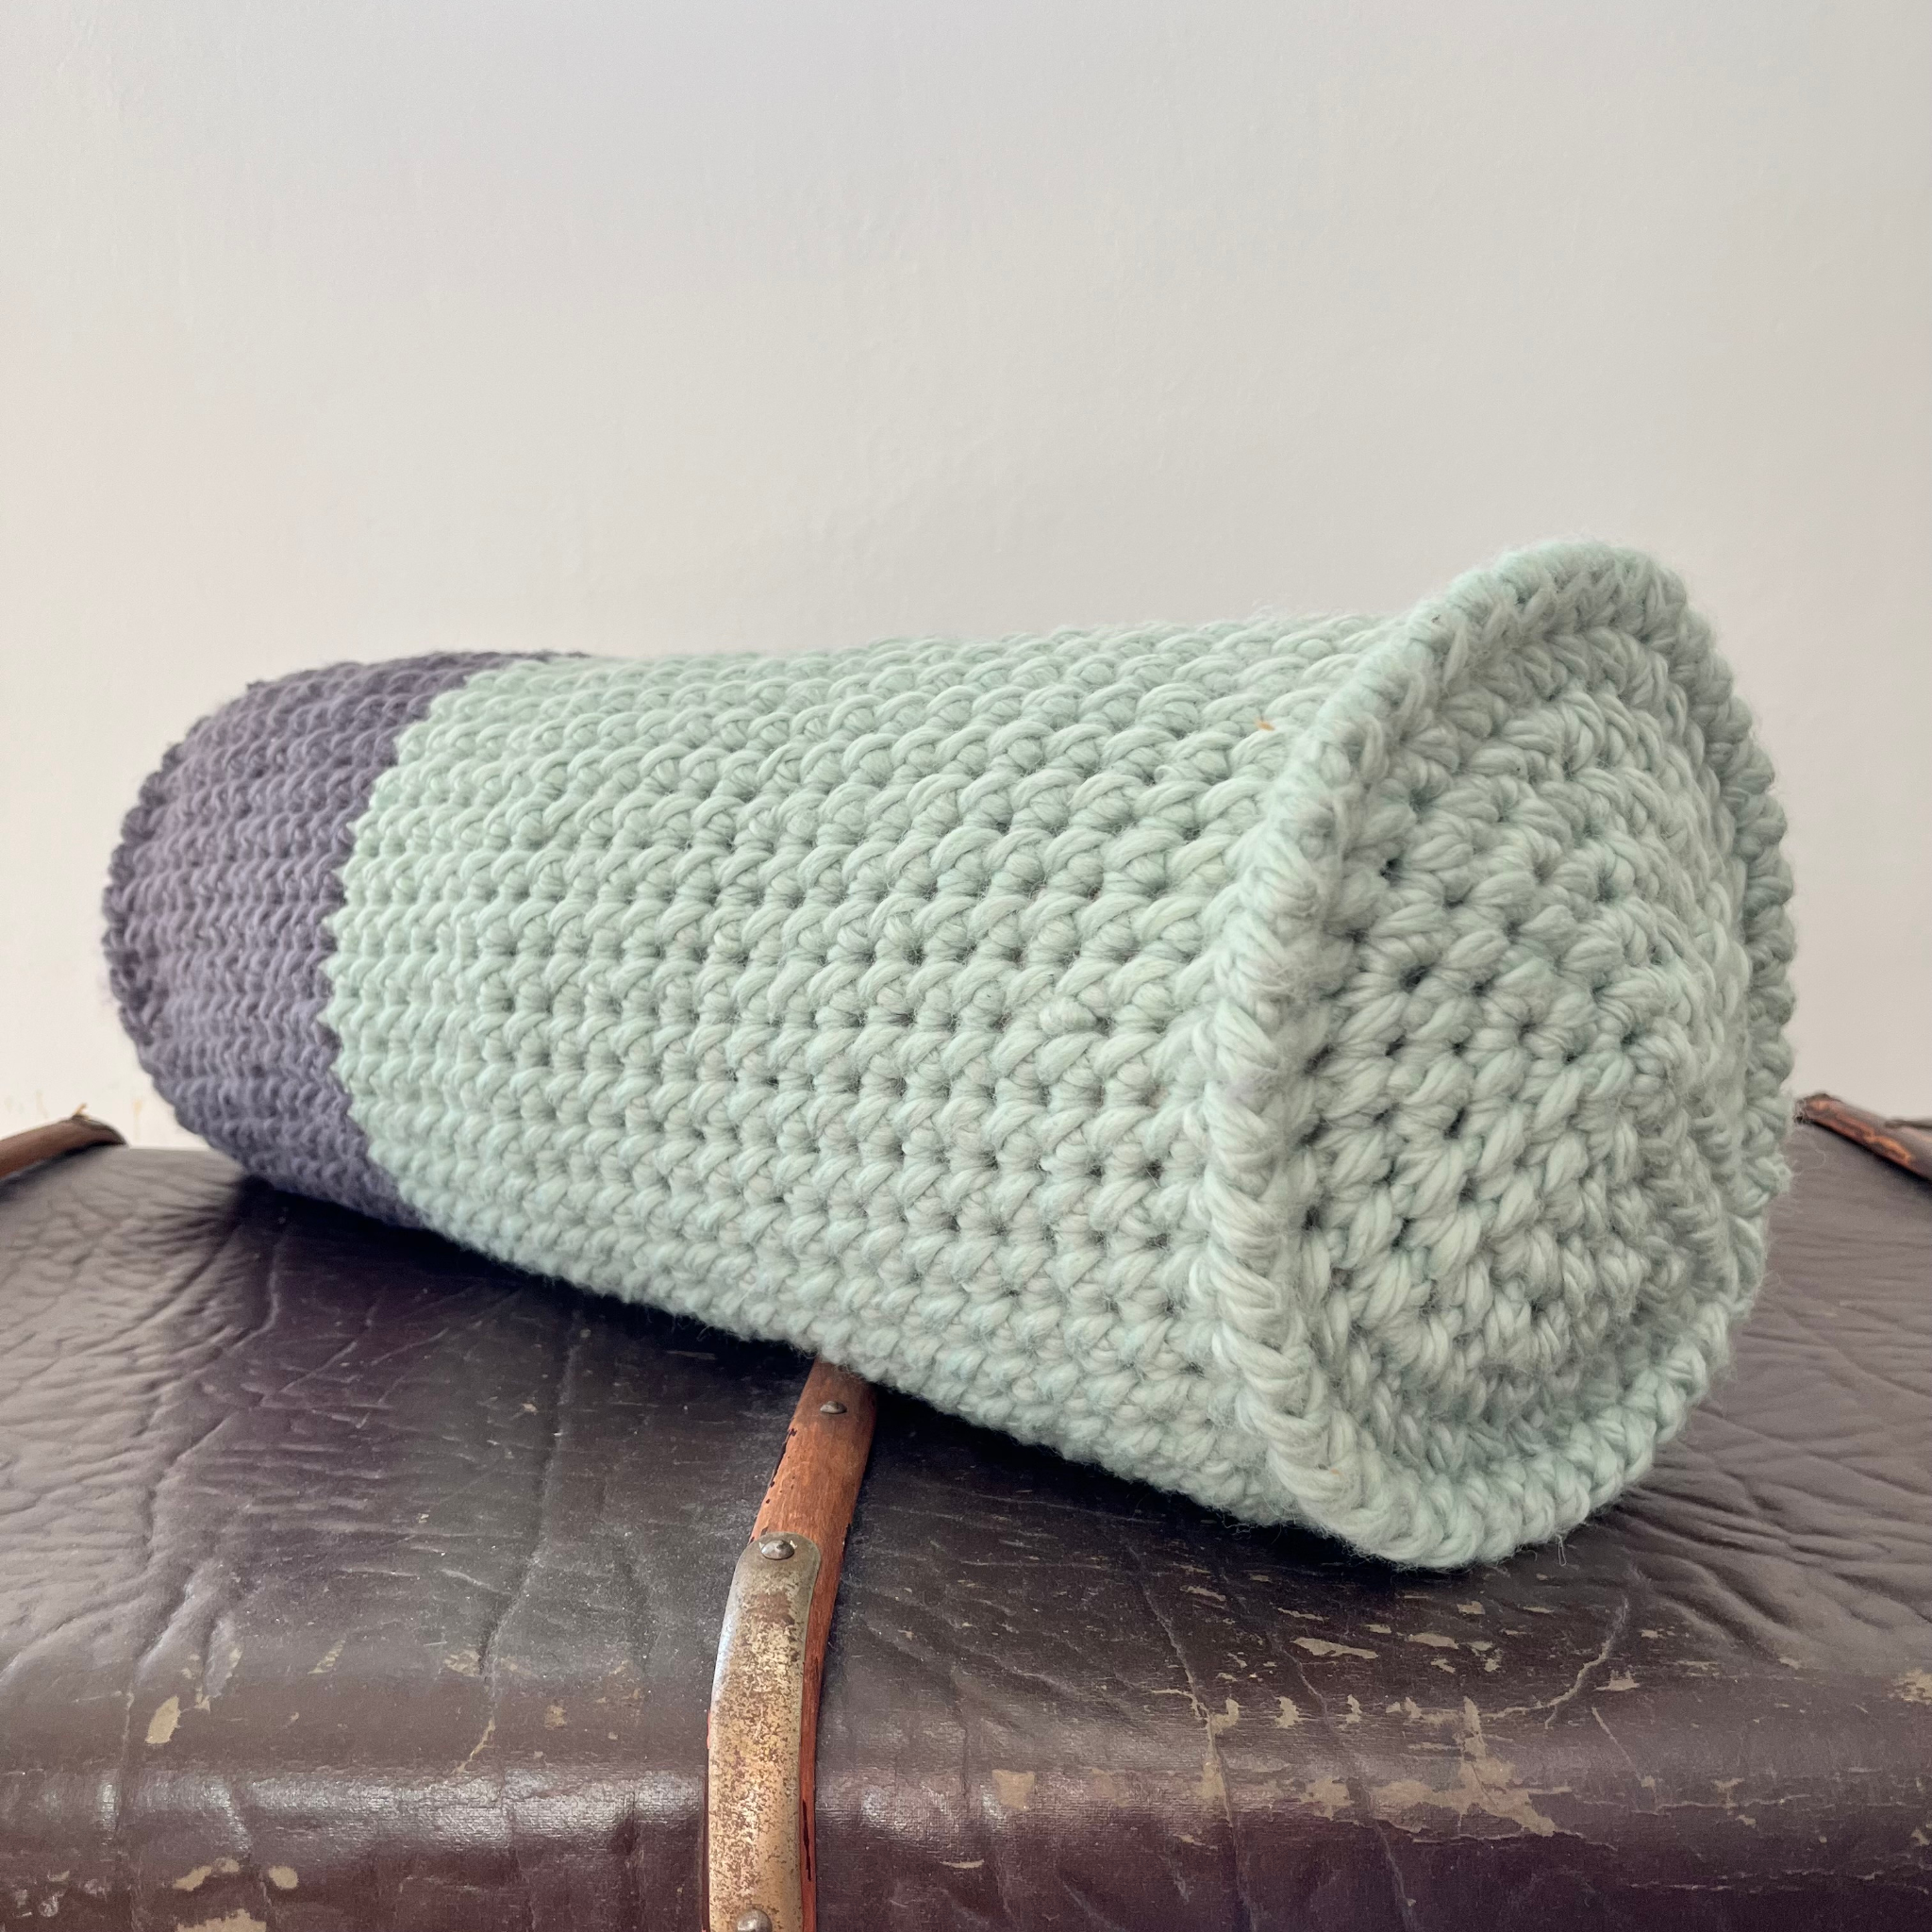
bolster cushion

