
k-stitch

Instructions

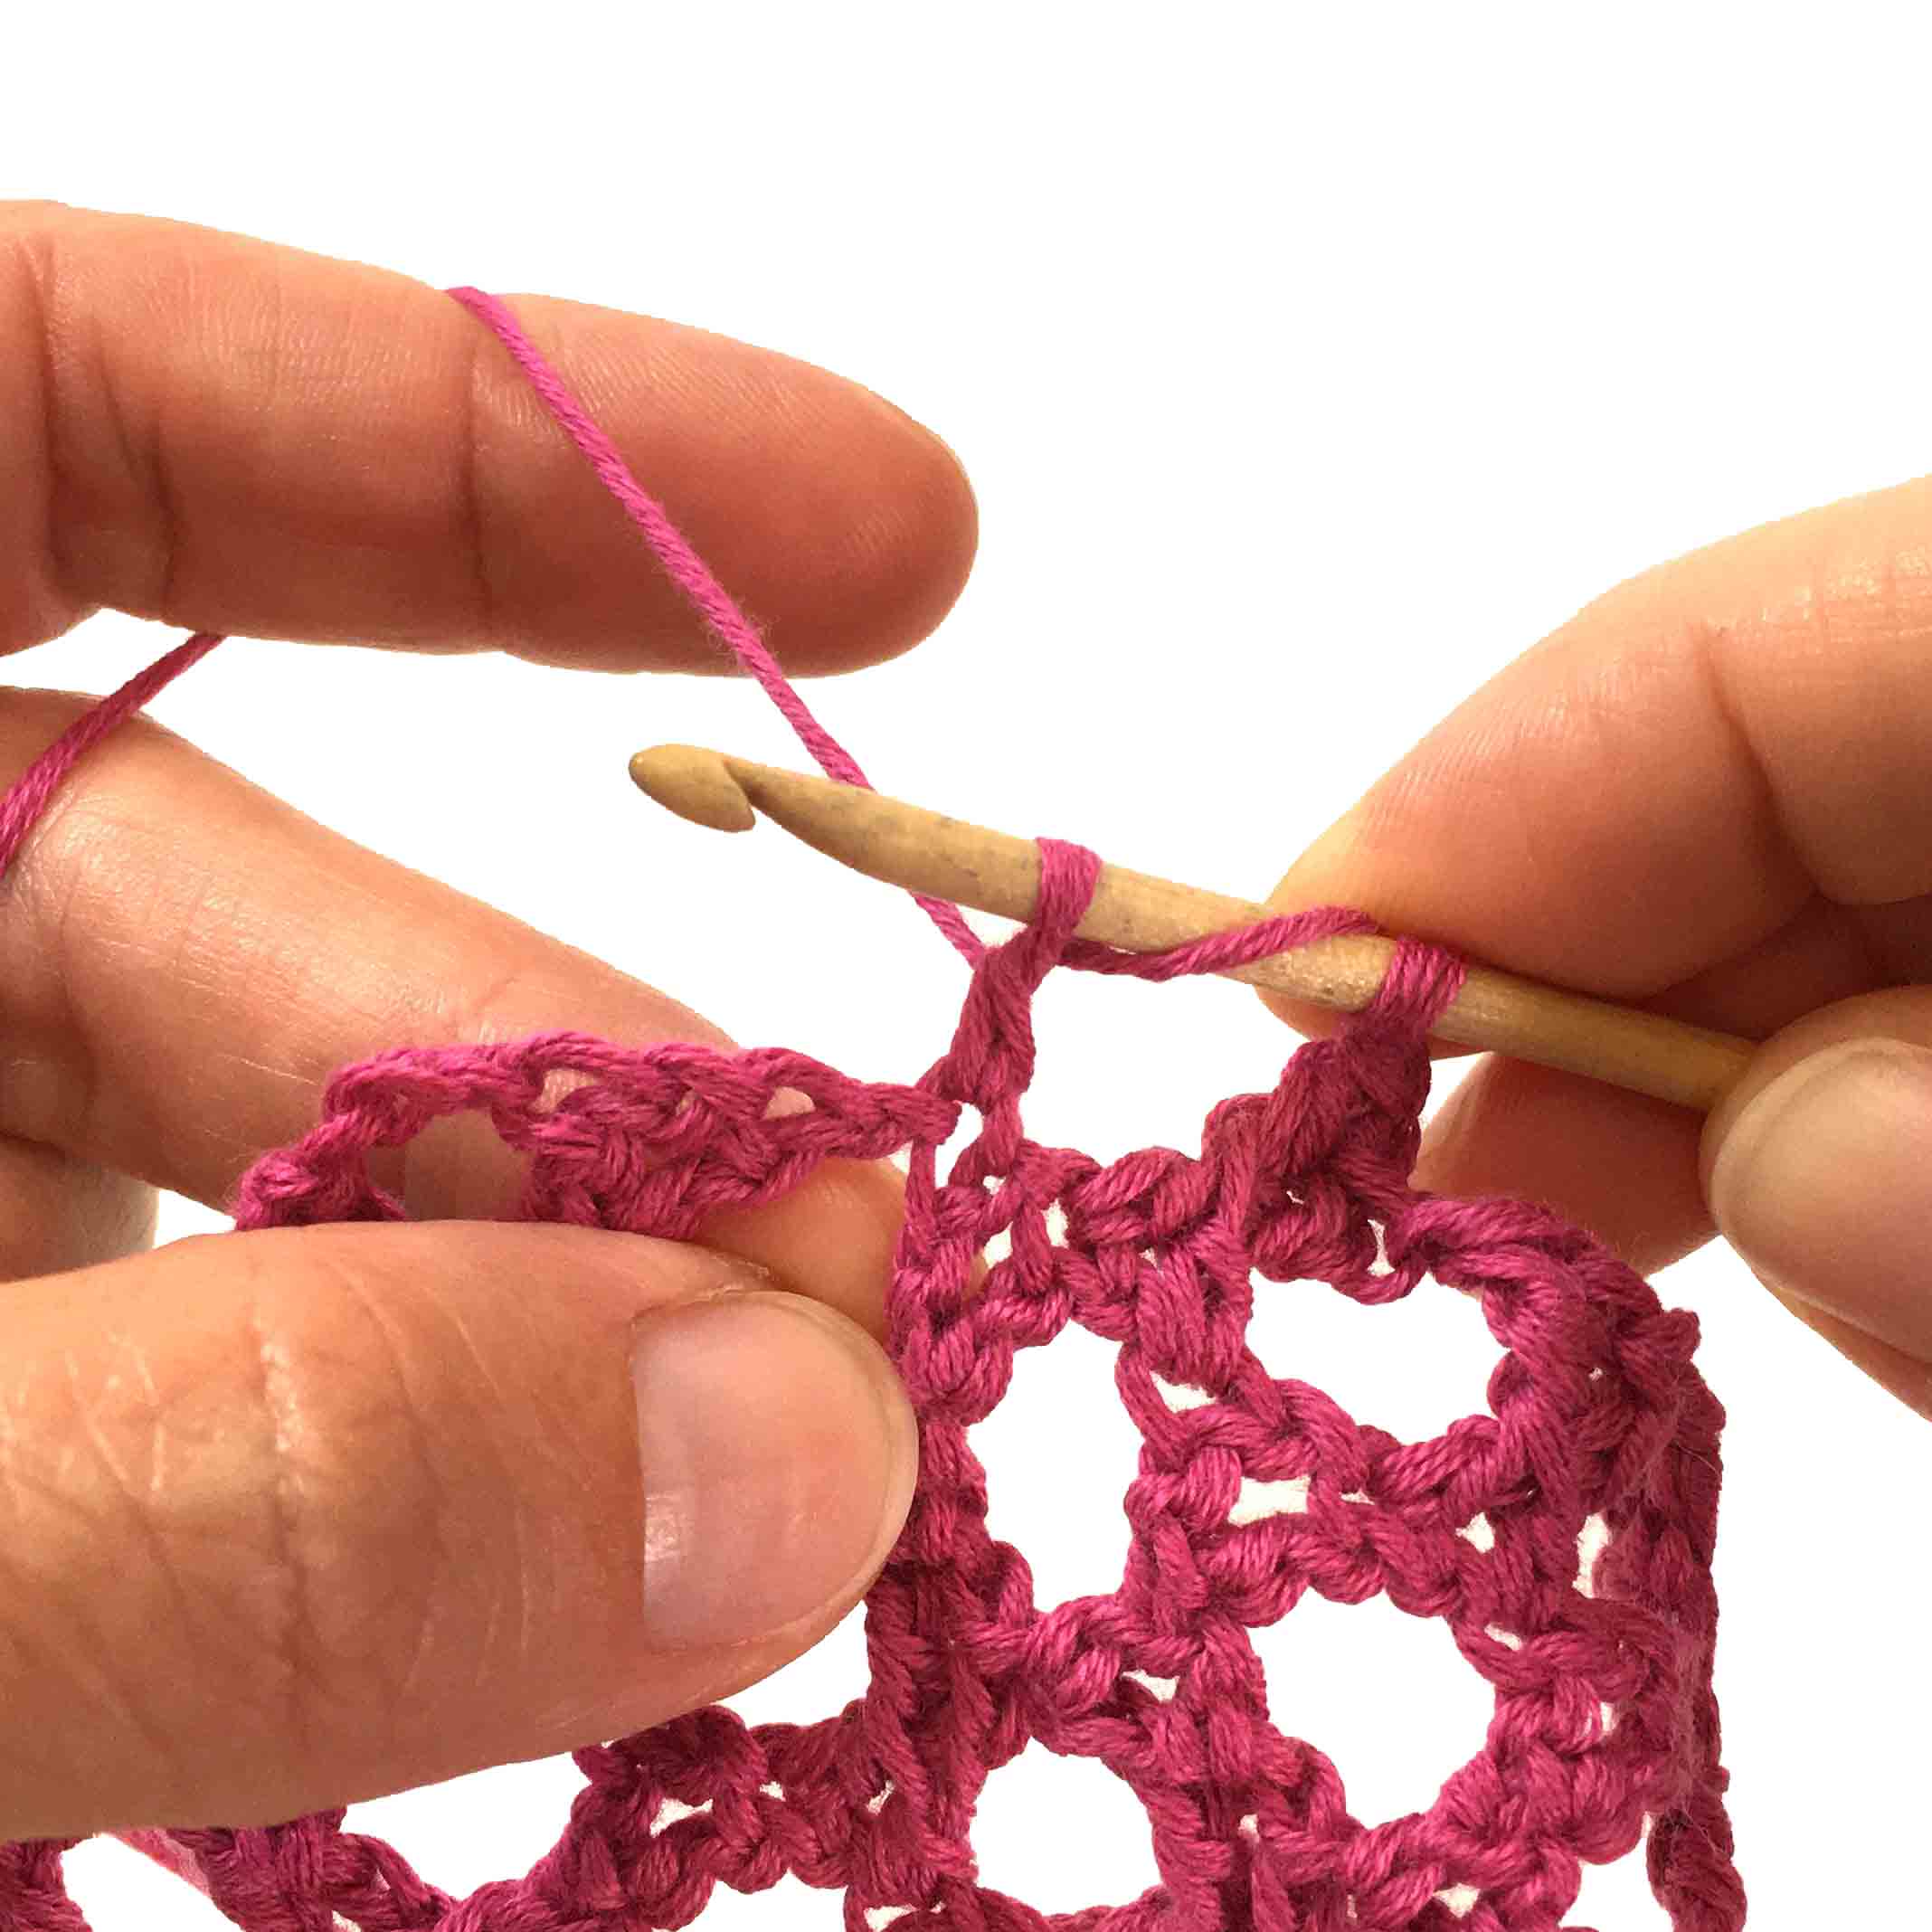
Step 1
Place your yarn around the hook twice and push the hook through the “V” – place the yarn around your hook again and pull back through the “V”.
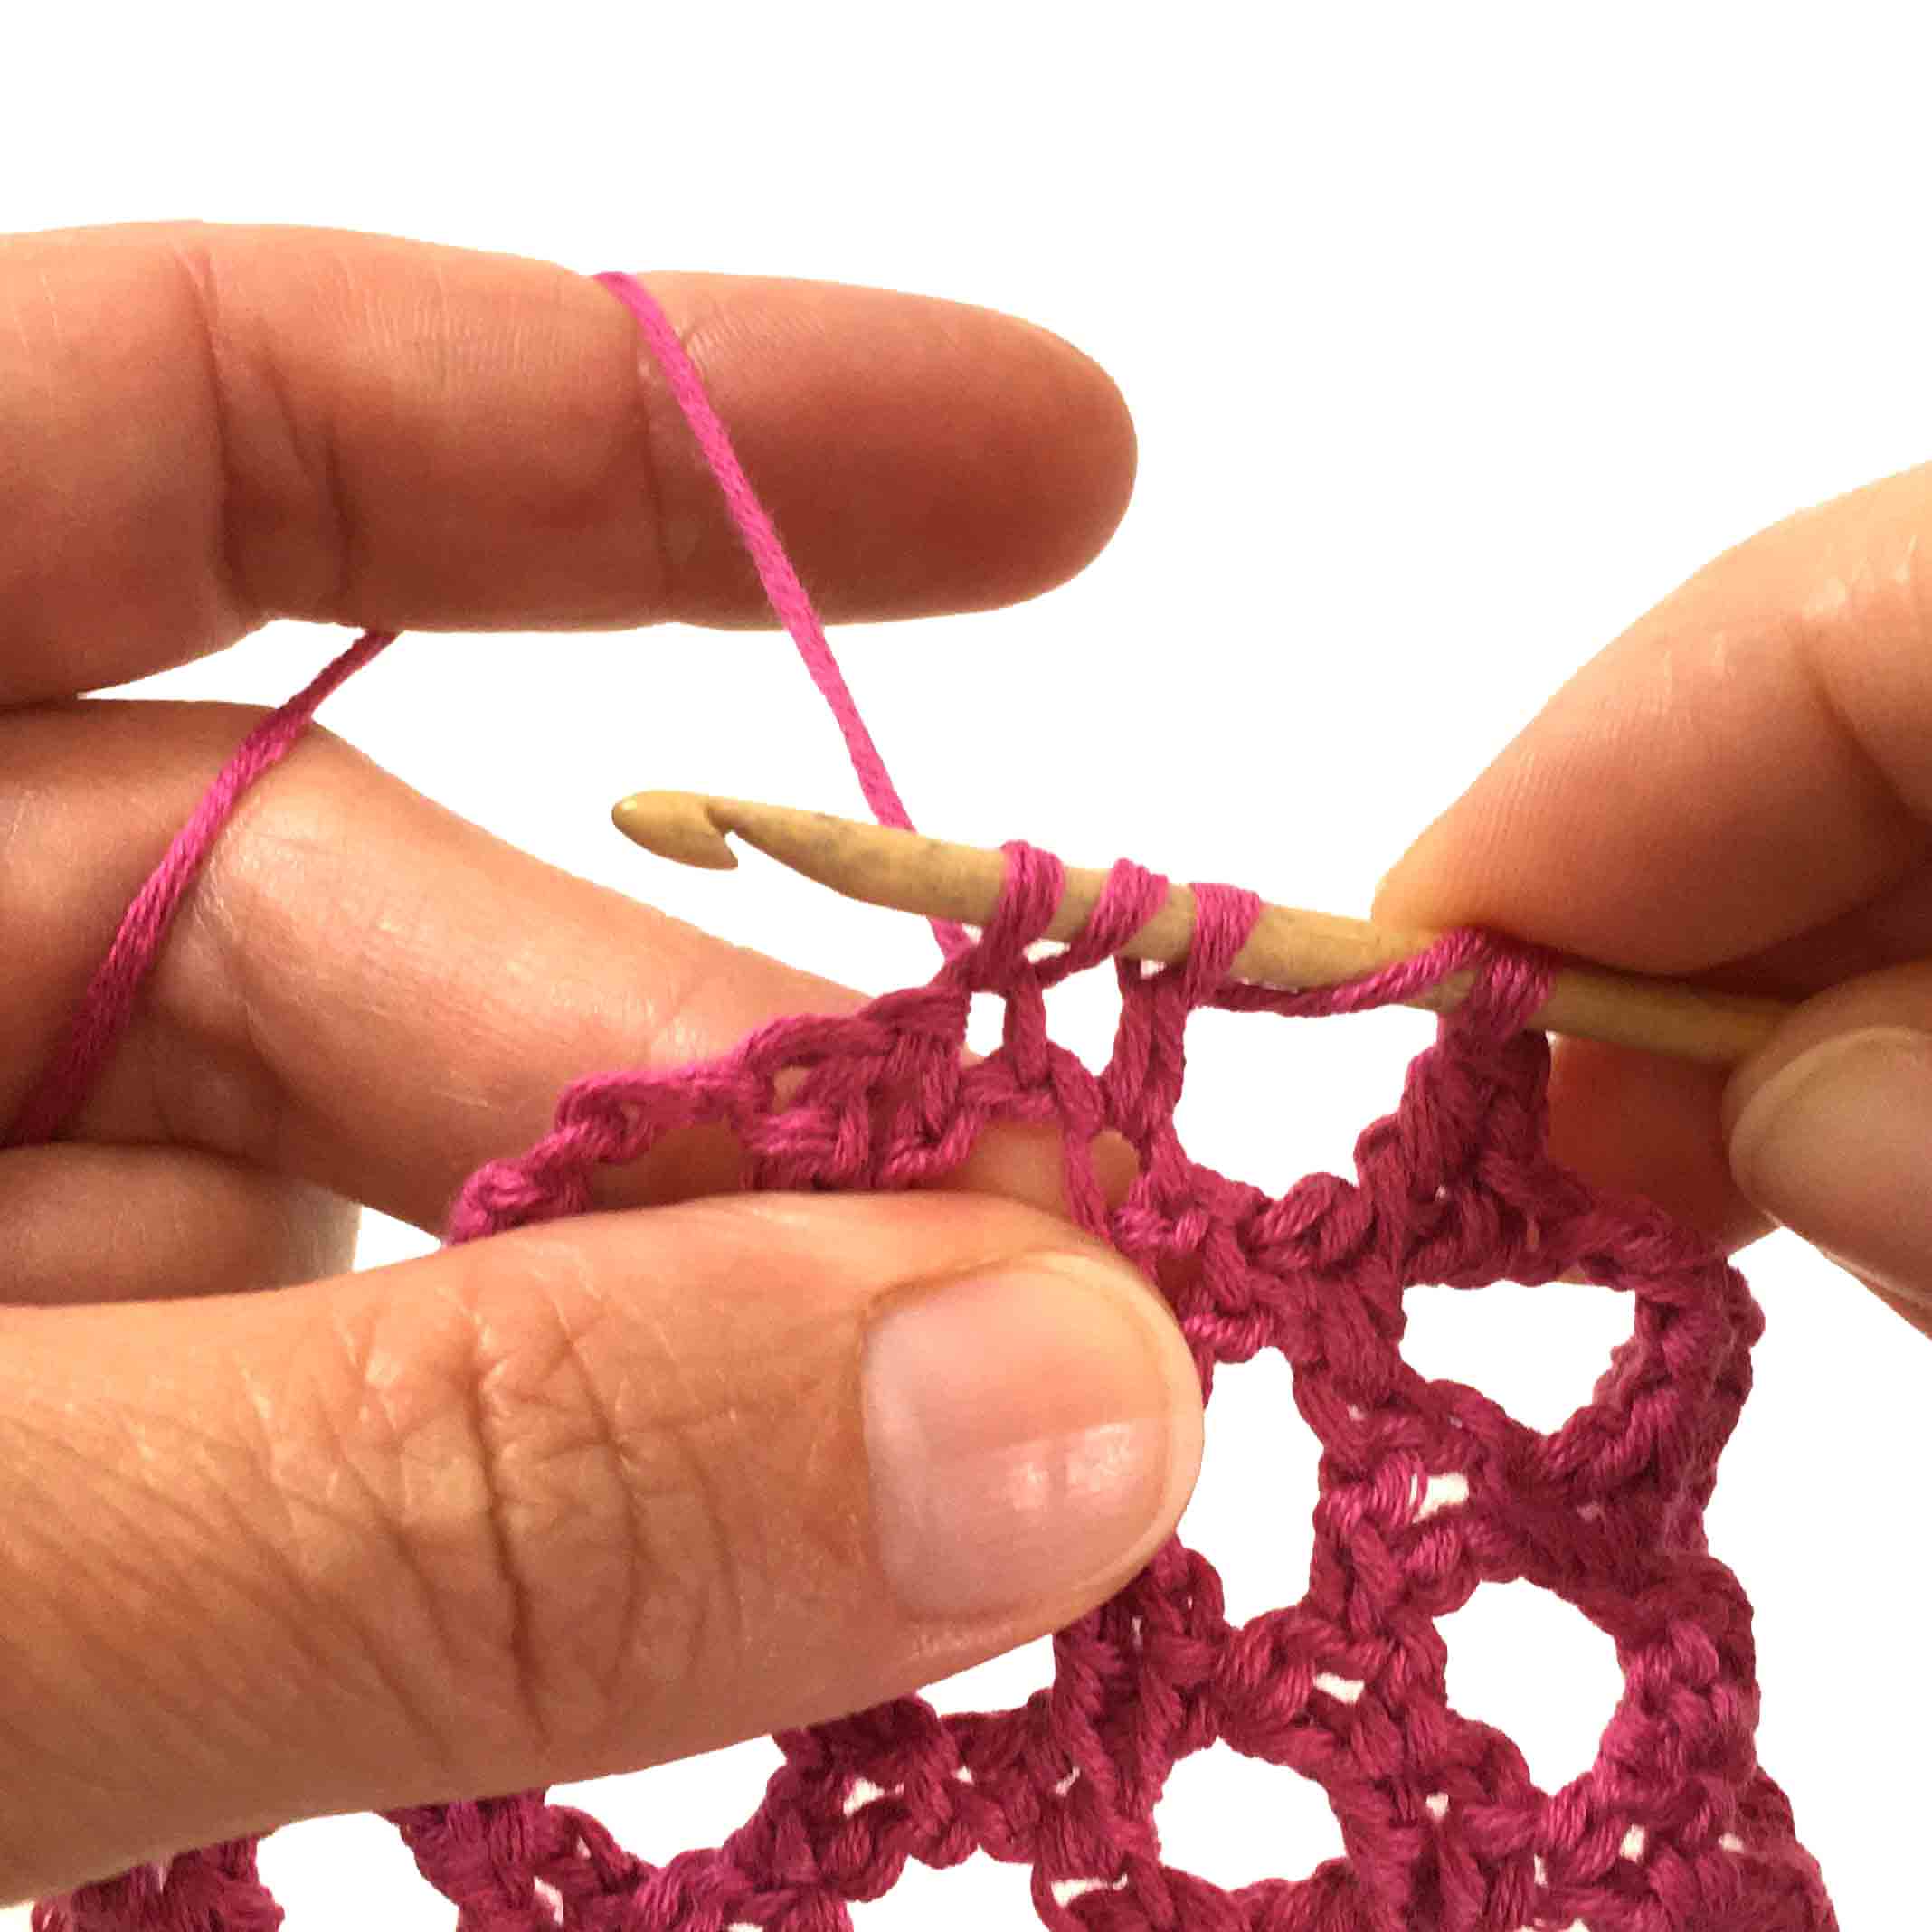
Step 2
Place your yarn around the hook and pull through two loops.
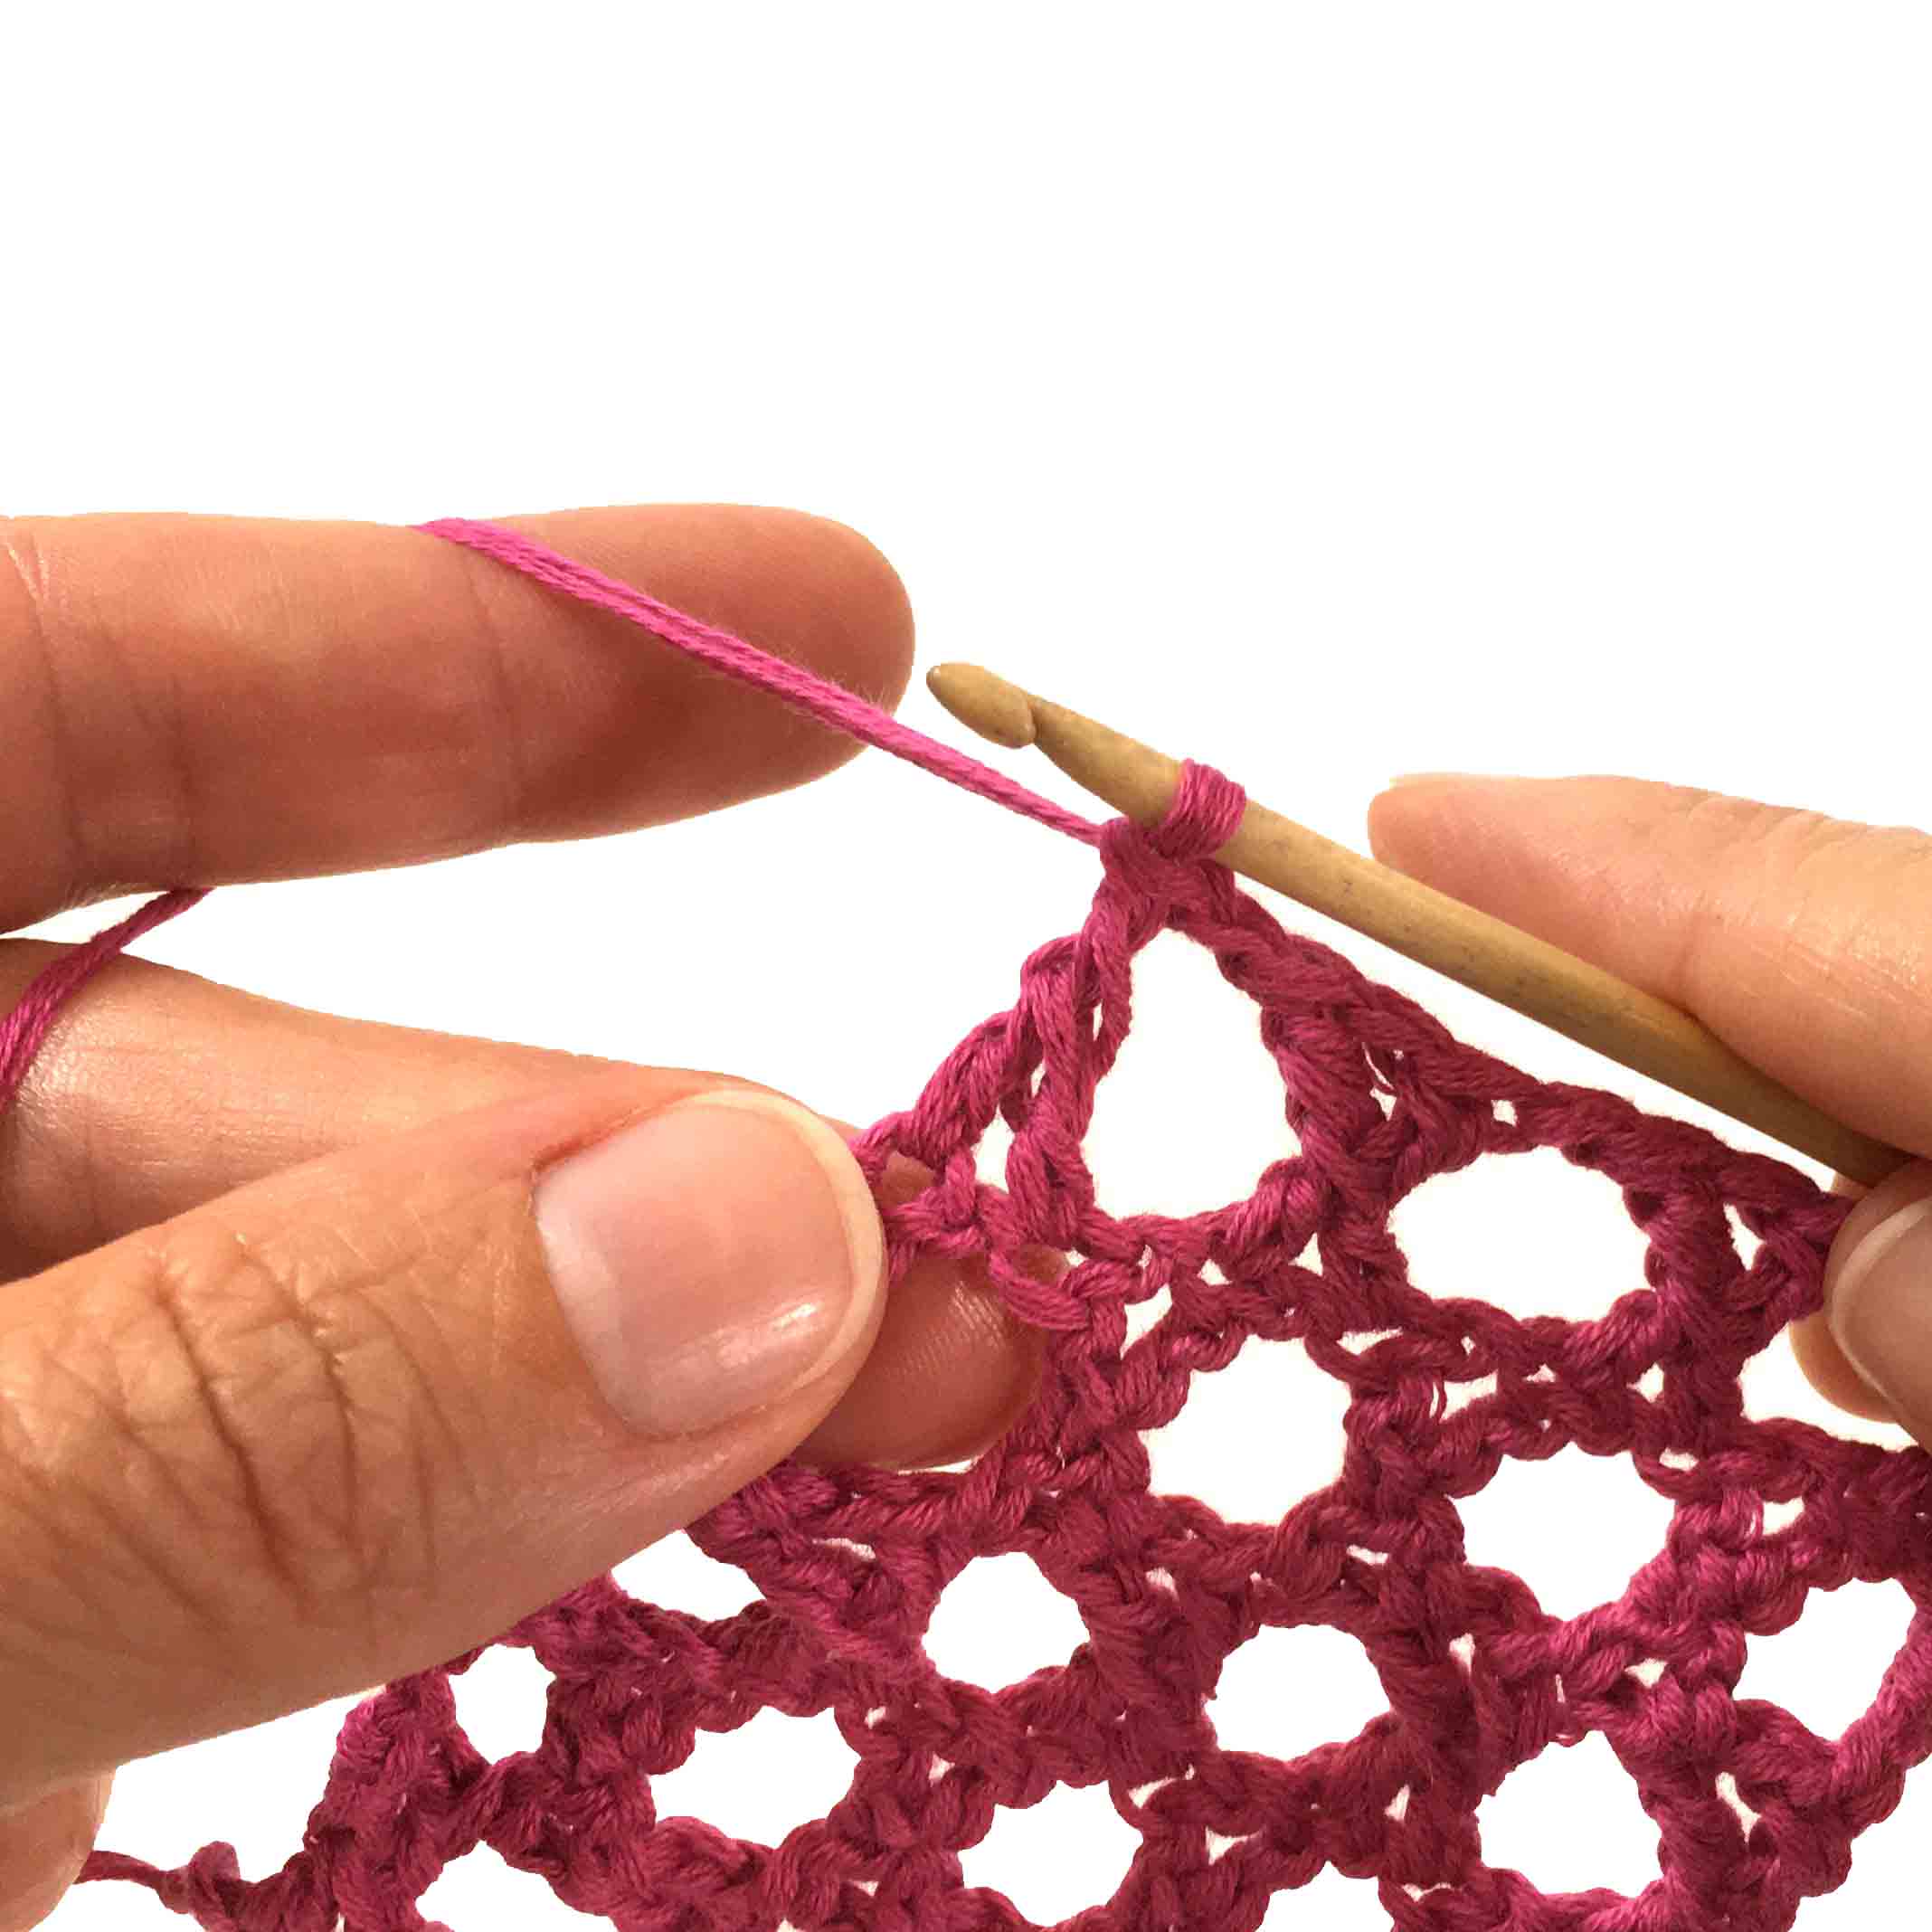
Step 3
Place the yarn around your hook – skip one stitch and push your hook through the “V” of the next stitch. Place your yarn around your hook and pull it back through.
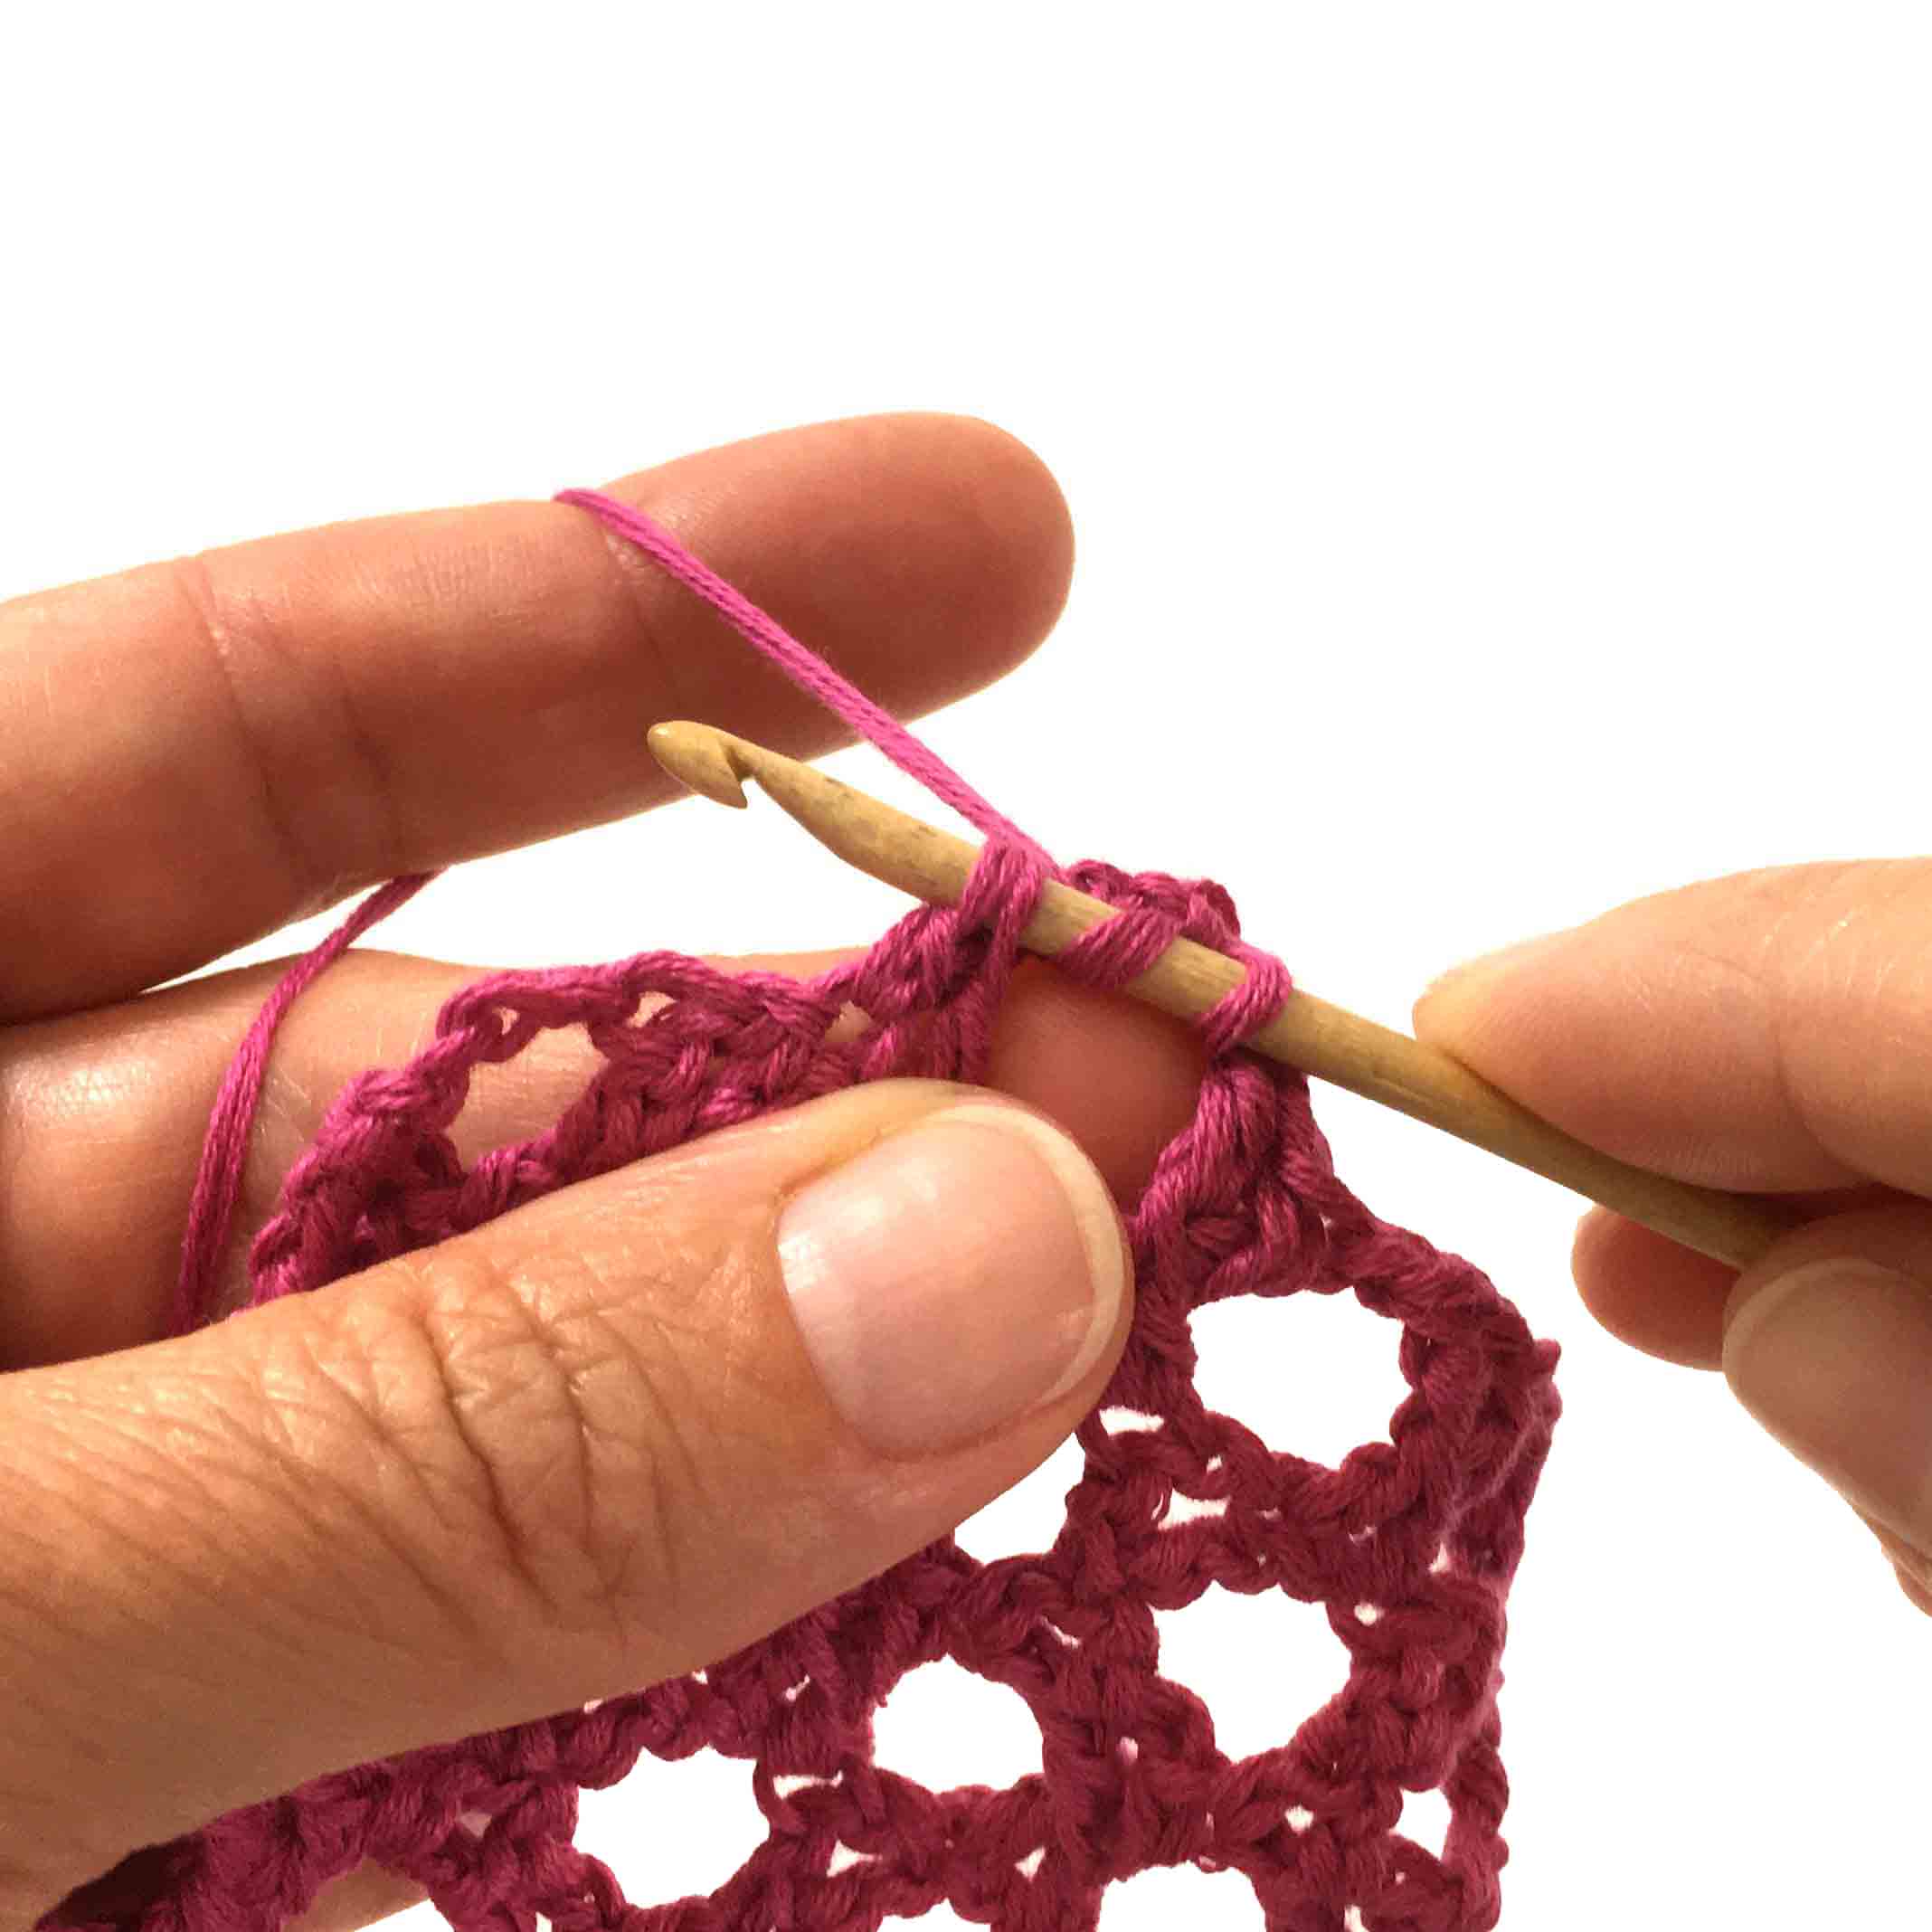
Step 4
Place the yarn around your hook and pull through two loops. .
Repeat a total of 4 times till you end up with only one loop on your hook.
Step 5
Chain 1 and place your yarn around your hook.
Insert your hook where the two bottom parts connect. Place your yarn around your hook and pull back through.
Step 6
Place your yarn around your hook and pull through two loops.
Repeat a total of 2 times till you only have one loop on your hook closing the stitch.
This tutorial works with a multiple of 4 stitches. If you choose to work continuous K-stitches without the chain space you multiply by 3 stitches. To get the height of the stitch you chain 4, but if you want a seamless look to your project, try the Chainless Starting Stitch.